Homemade Butternut Squash Gnocchi with Garlic and Sage
I have never made gnocchi before. I have purchased pre made gnocchi and of course had the better version out at restaurants but never tried to make a homemade version. I have watched tutorials online and thought it doesn’t look so hard but only after I had a huge butternut squash harvest and was trying to think up ways to eat butternut squash, that making gnocchi with it started to seem like a good idea. And maybe Italians will be mad and say it’s not gnocchi, but whatever it is-IT IS GOOD. I mean as a person who doesn’t love the texture of butternut squash, these gnocchi are tender, delicious and beautiful. It came out with such fall vibes. Honestly, even though it is a bit of labor the fact that you can freeze all or part of them after making it, seems worth it to me. I am ok with a medium amount of labor as long as it produces more than one meal. This will definitely stay in my meal prep repertoire.
Ingredients:
1 1/2 cup roasted butternut squash puree
1 cup AP flour
1 1/2 tsp salt
1 egg (optional if you want to make a vegan version)
5-6 sage leaves thinly sliced (This is for half the gnocchi, if you plan to eat all of them right away, double the sage, garlic, butter and oil.)
2-3 large garlic cloves minced
1 tbsp olive oil and 1 tbsp butter
Recipe:
To make the Gnocchi:


Either on a clean work surface or in a large bowl, combine the flour and salt.
Then make a well in the center of the flour and add the egg. As you whisk the egg with a fork start to encorporate the flour into the egg.
Once you have the egg mixed into the flour, add the butternut squash puree and start to knead the dough. A bench scraper came in very hardy here as I folded the dough onto itself. Add flour if it is sticky and continued to work until it is a smooth ball of dough.
Cover the dough with a damp dish towel and let rest. Bring a large pot of salted water to boil and set out a lined sheet tray.
Divid the dough into 4 parts and work with one part at a time, keeping the rest covered. Roll the dough into a long snake about one inch or 2 cm in diameter.
Cut the snake into 1 inch or 2 cm segments. Using the back of a fork, roll each segment down the fork to create ridges.
Use a slotted spoon to transfer the gnocchi into the boiling water. They only need to cook for a few minutes. Once they rise to the surface, you can use the same slotted spoon to remove them from the water and transfer them to the lined sheet tray.
Repeat the process until you have cooked all the gnocchi.
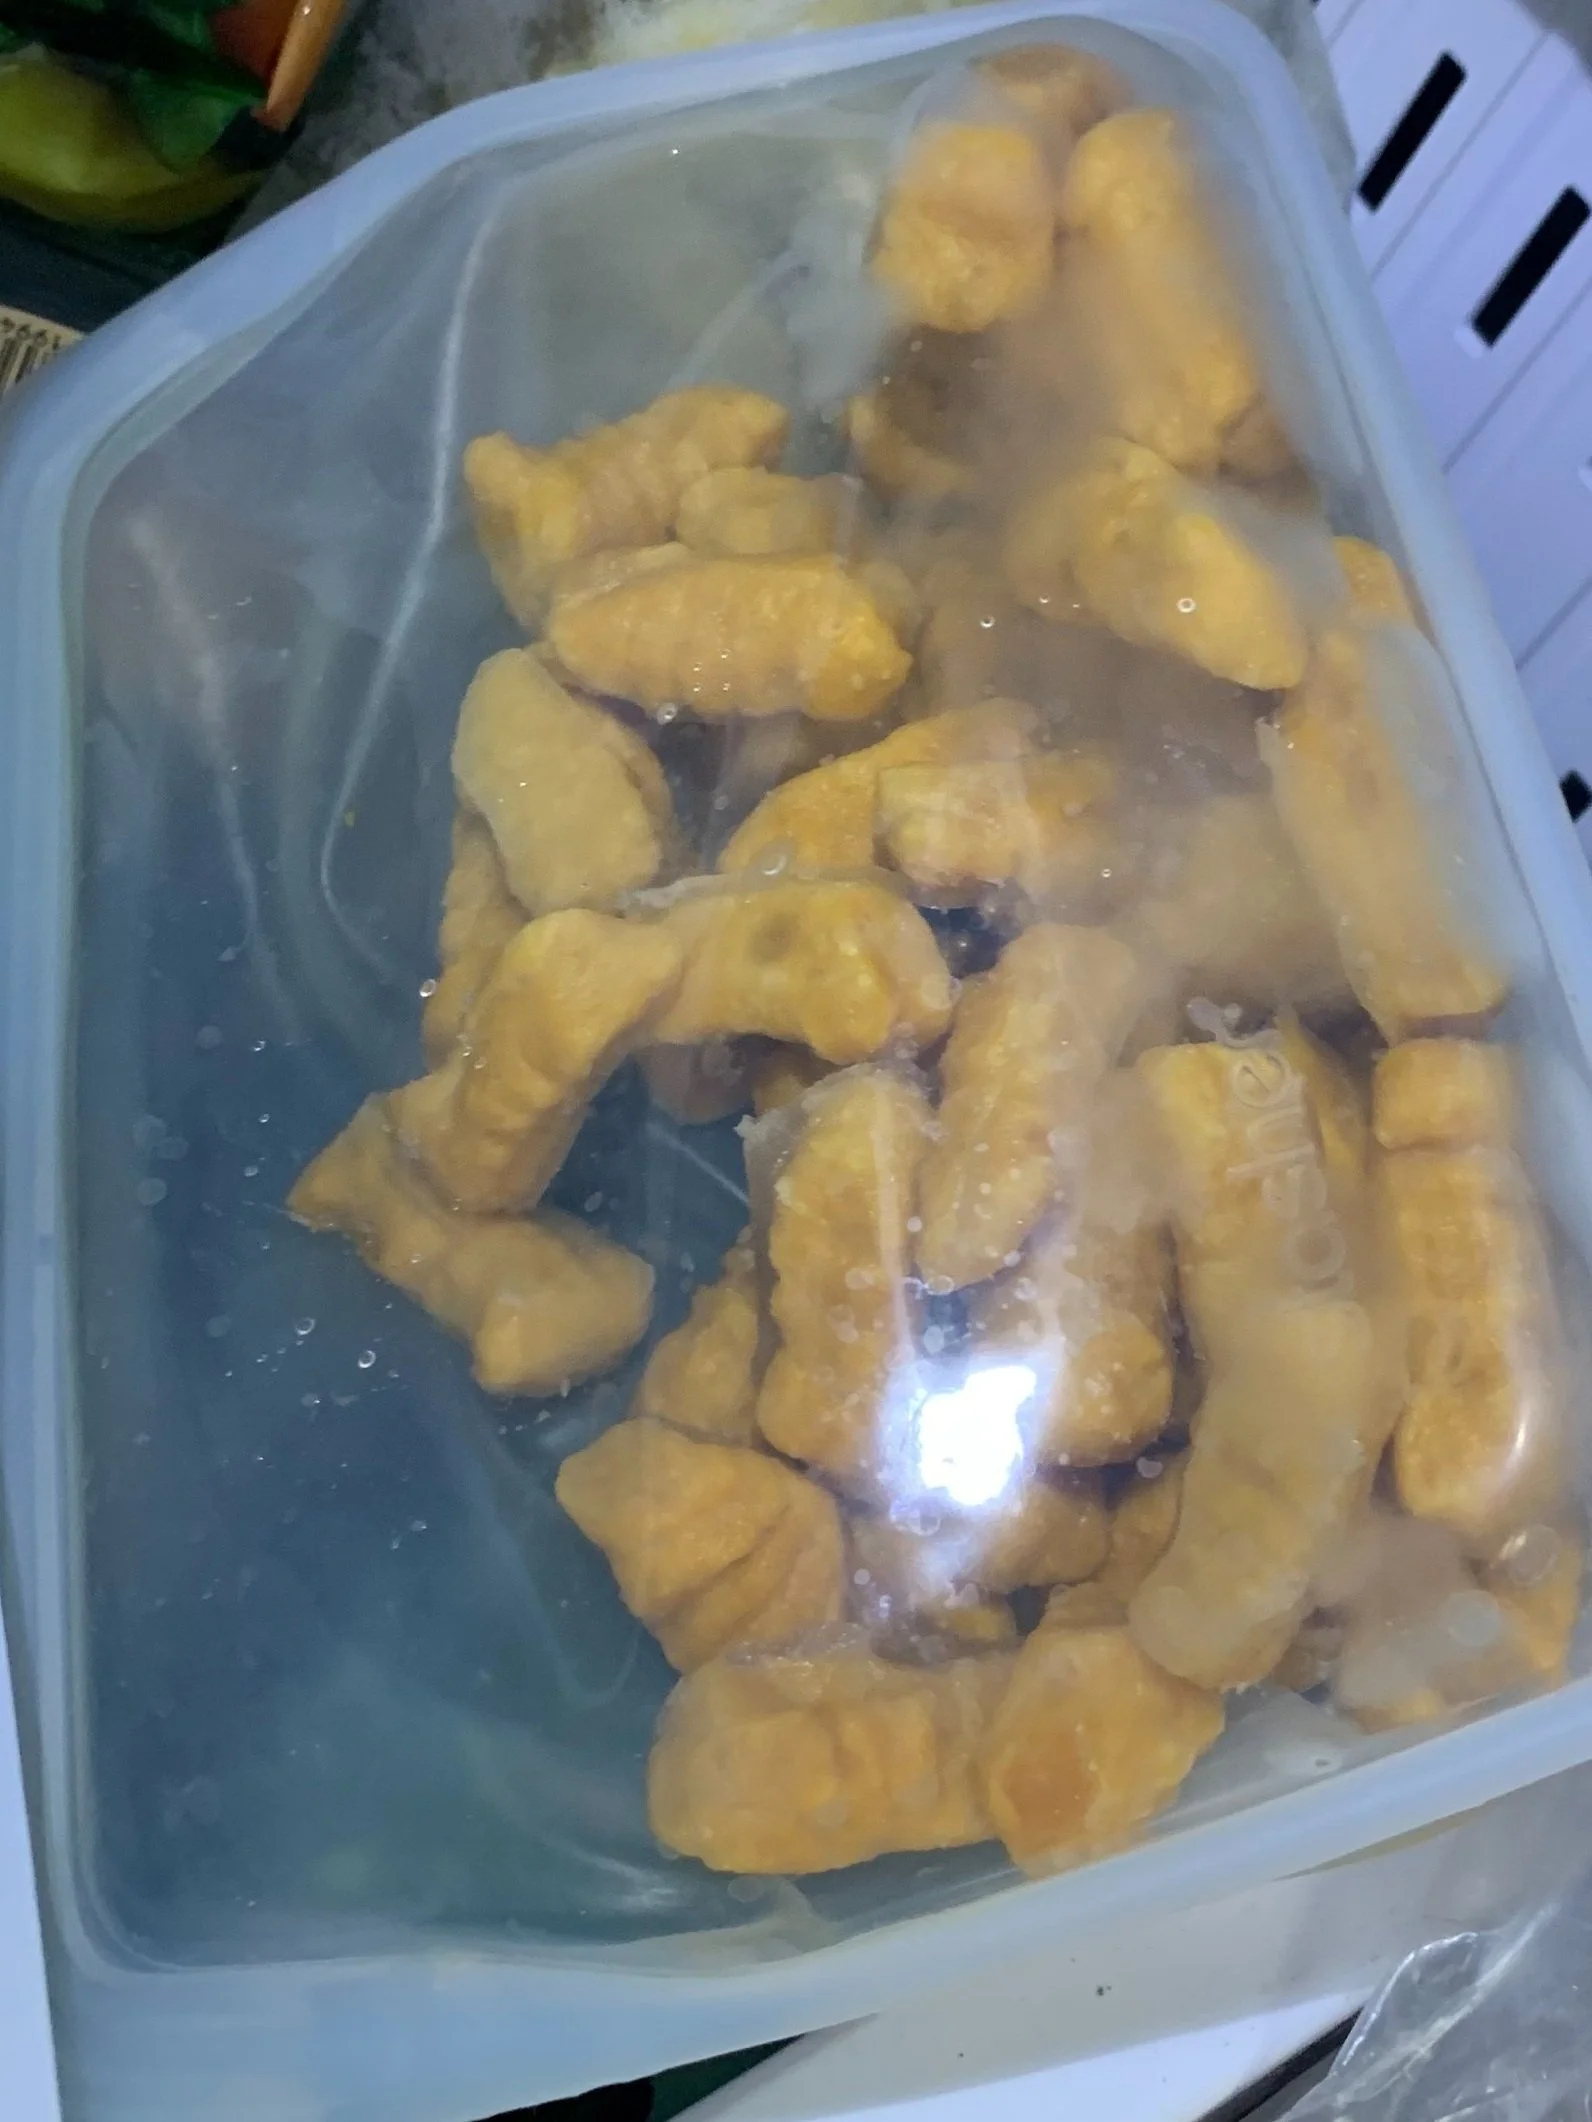
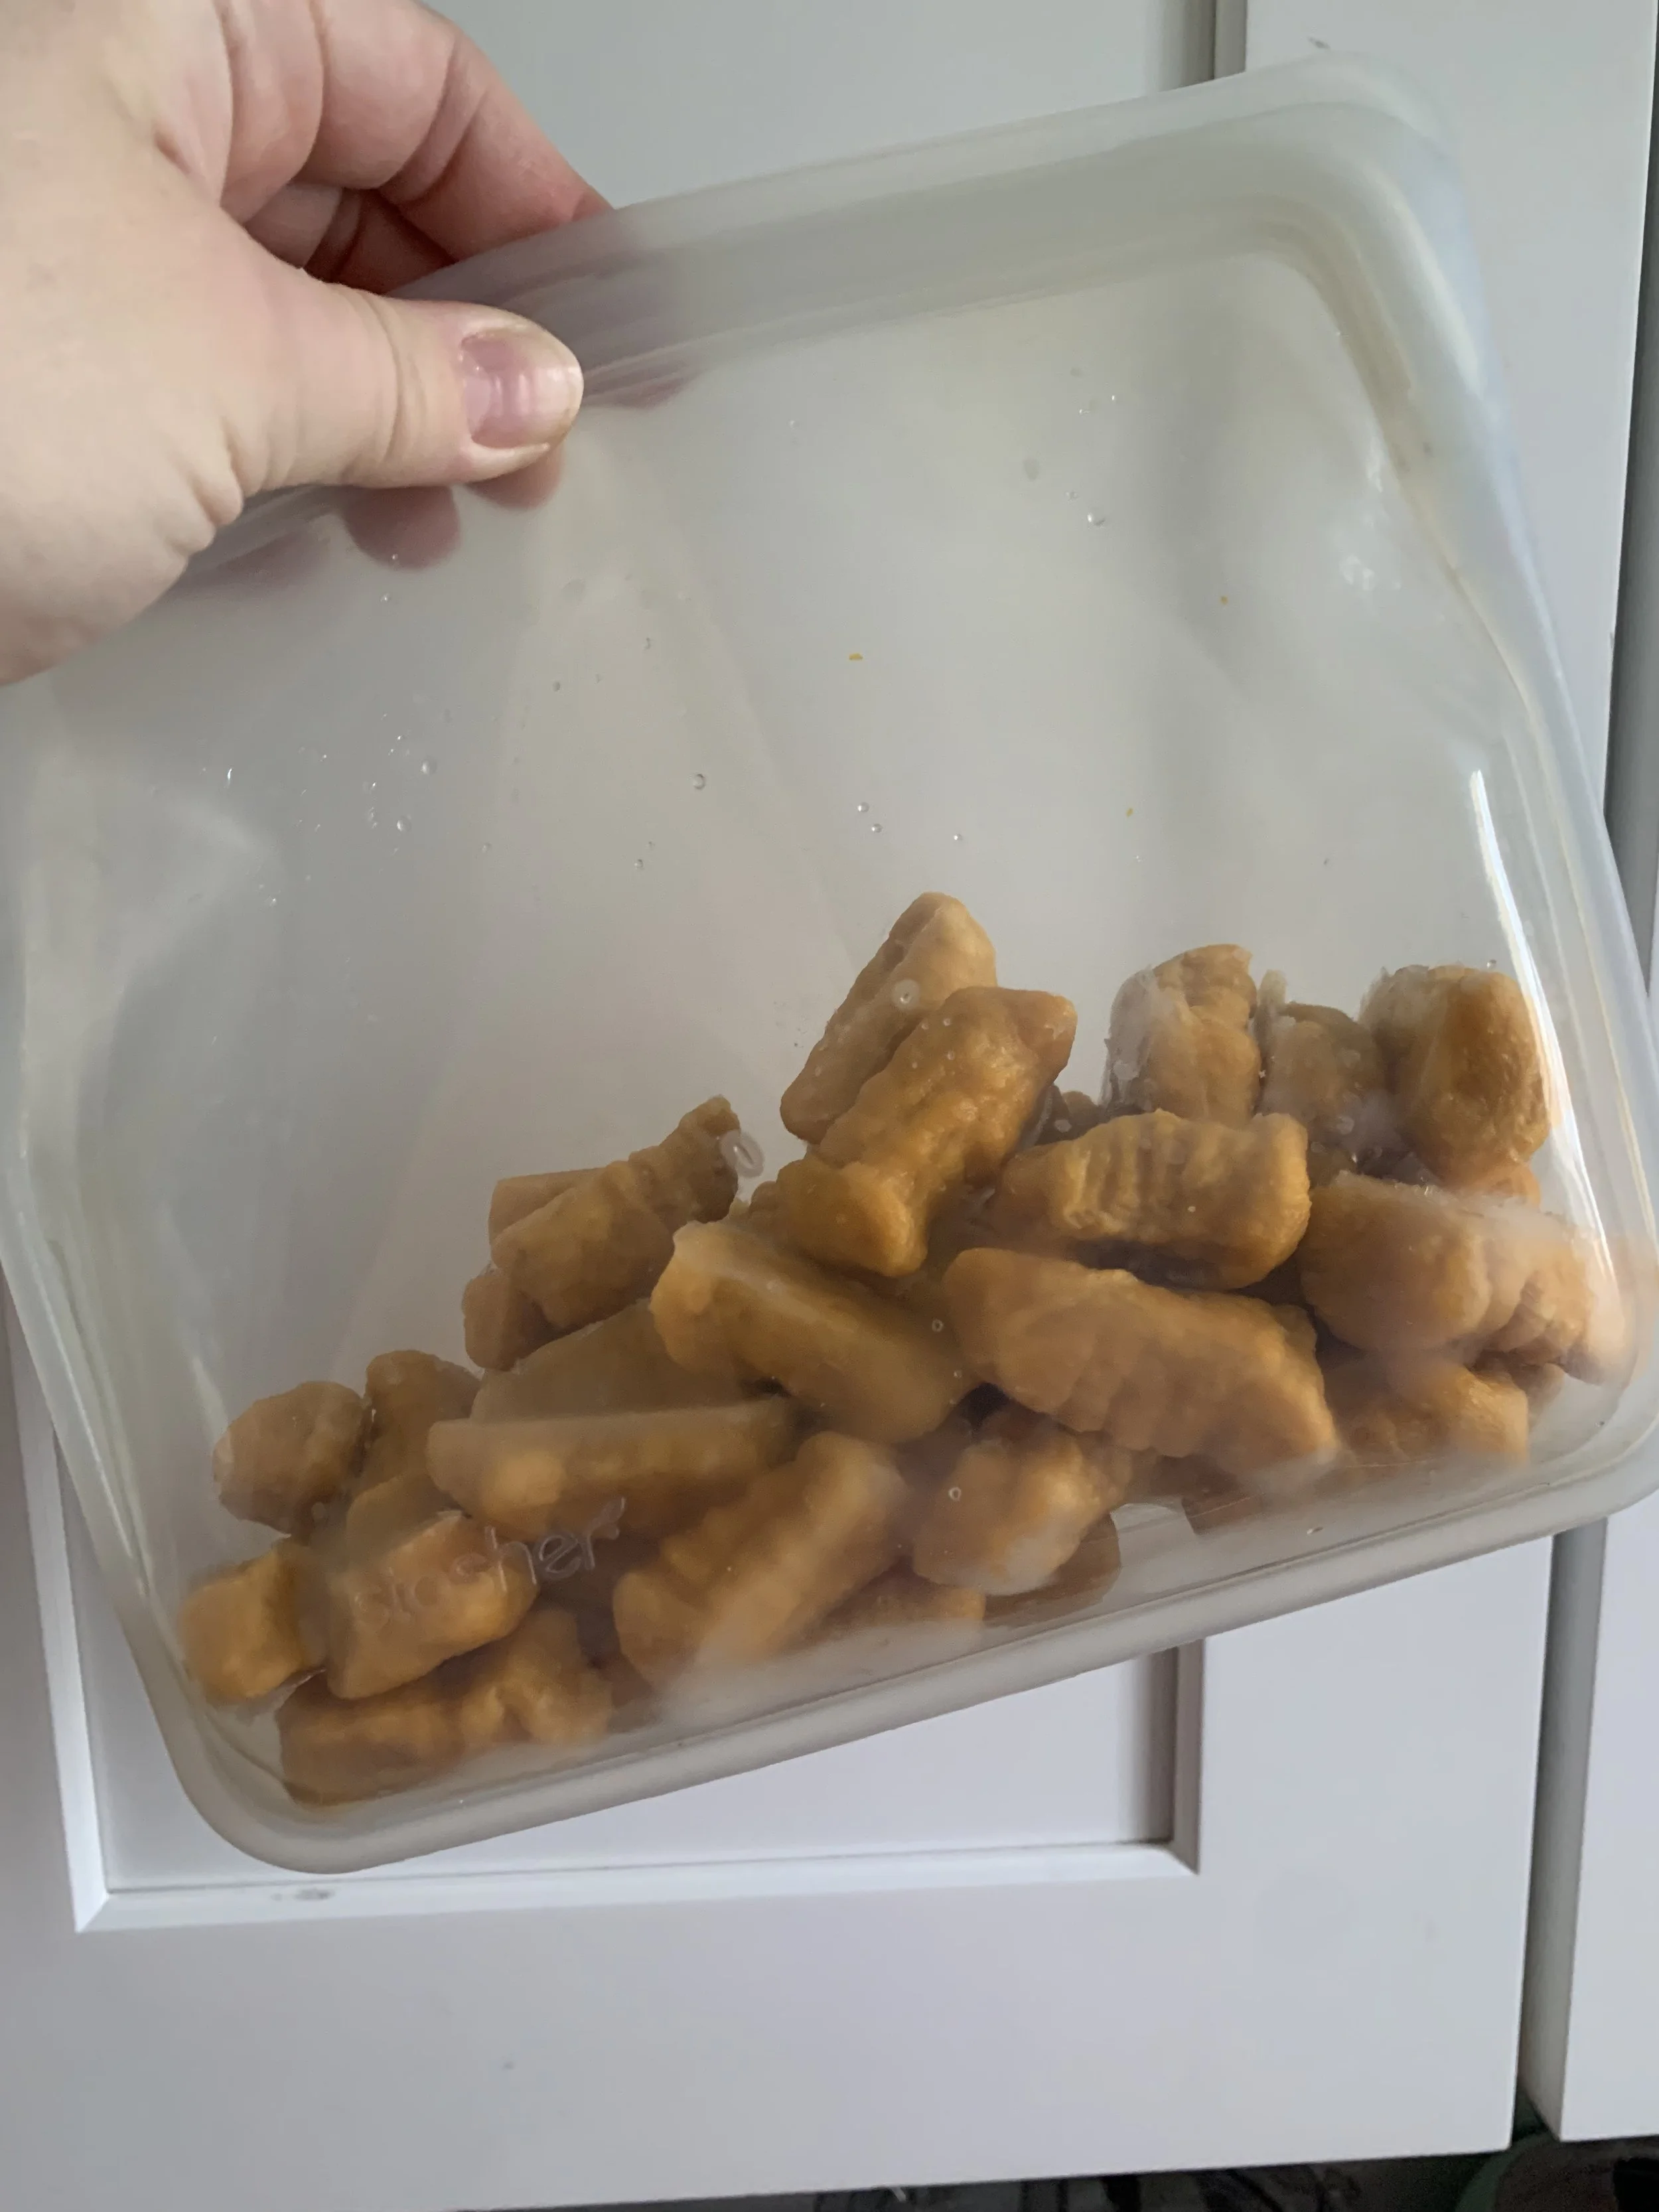
At this point you can choose to transfer the sheet tray to the freezer to freeze the gnocchi for later or fry up the garlic and sage to serve them now.
If you are Freezing them. Allow them to freeze completely on the sheet tray, then transfer to a freezer bag and store until you want to eat them. When you want to eat them, you can quickly boil them again in salted water or thaw and fry them in the pan depending on what texture or recipe you are using.
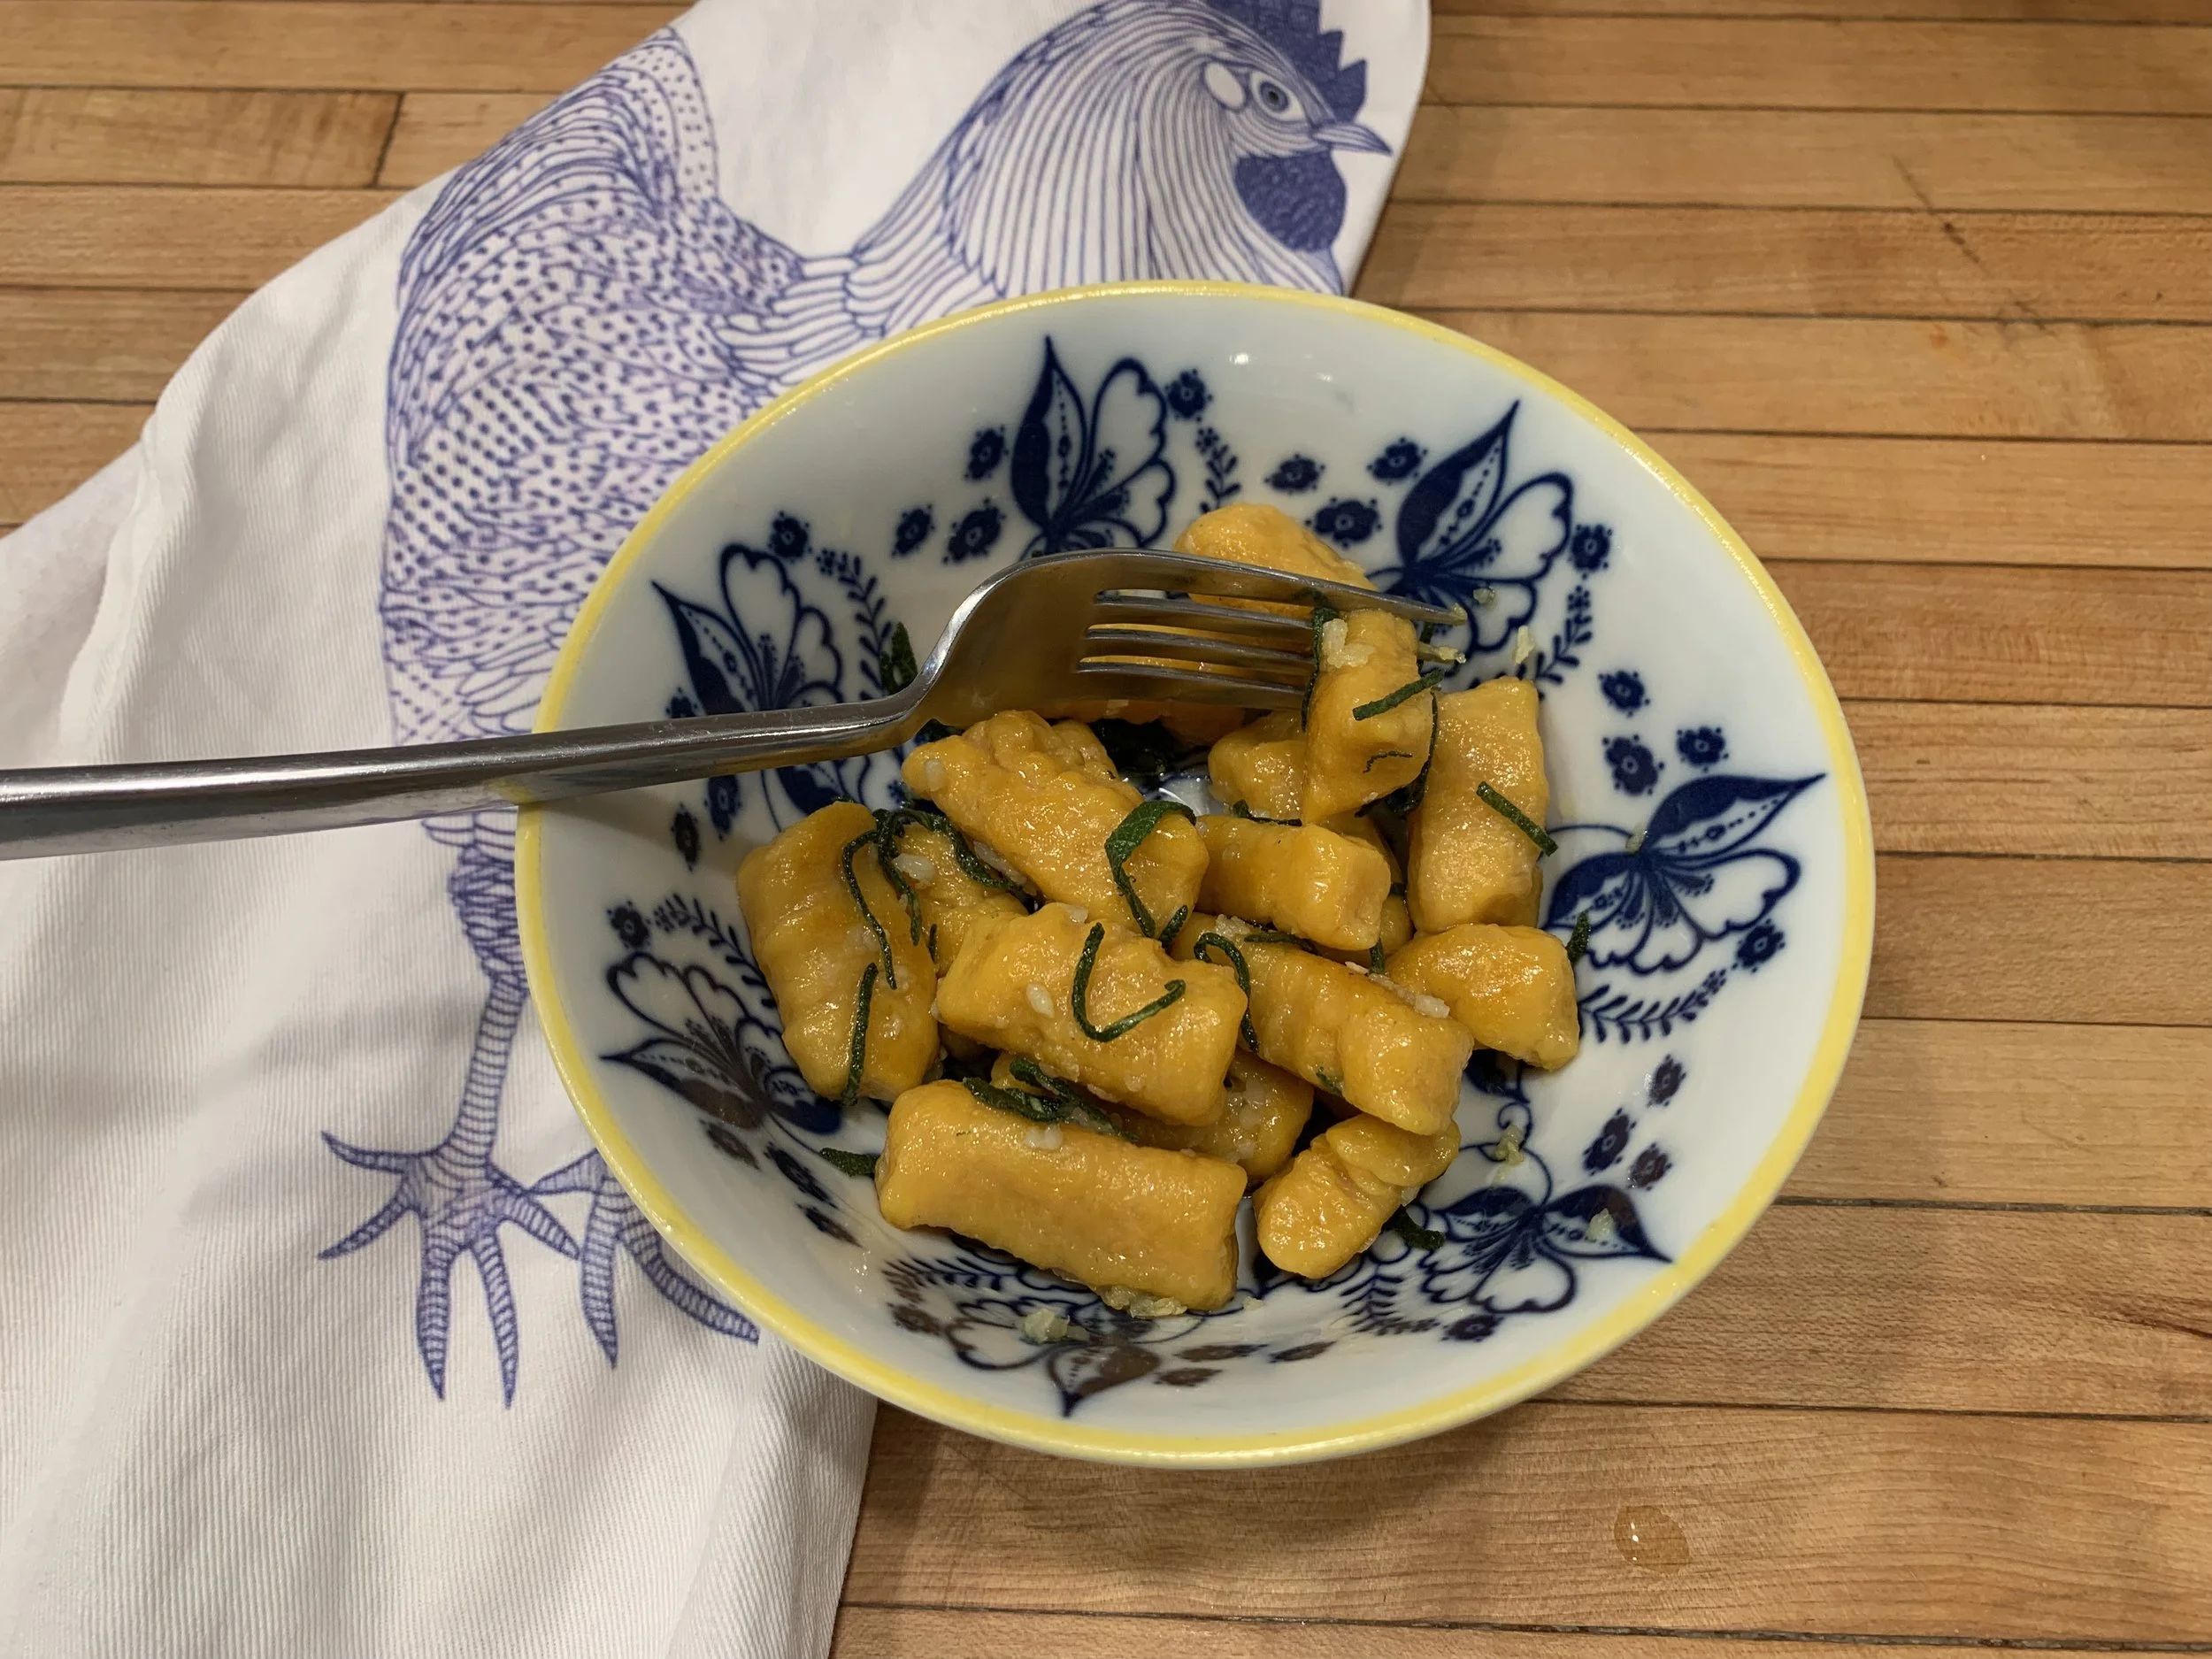
For the Garlic and Sage Gnocchi, start by adding the olive oil and butter to a frying pan and saute the minced garlic for a minute until fragrant. Then add the thinly sliced sage and cook another minute.
Add in half of the gnocchi (if you want to make it all then double the amount of oil, butter, garlic and sage.) Fry the gnocchi in the garlic and sage oil for 3-4 minutes. The sage should get slightly crispy.
Serve immediately and enjoy!