Low Effort Sourdough Bread
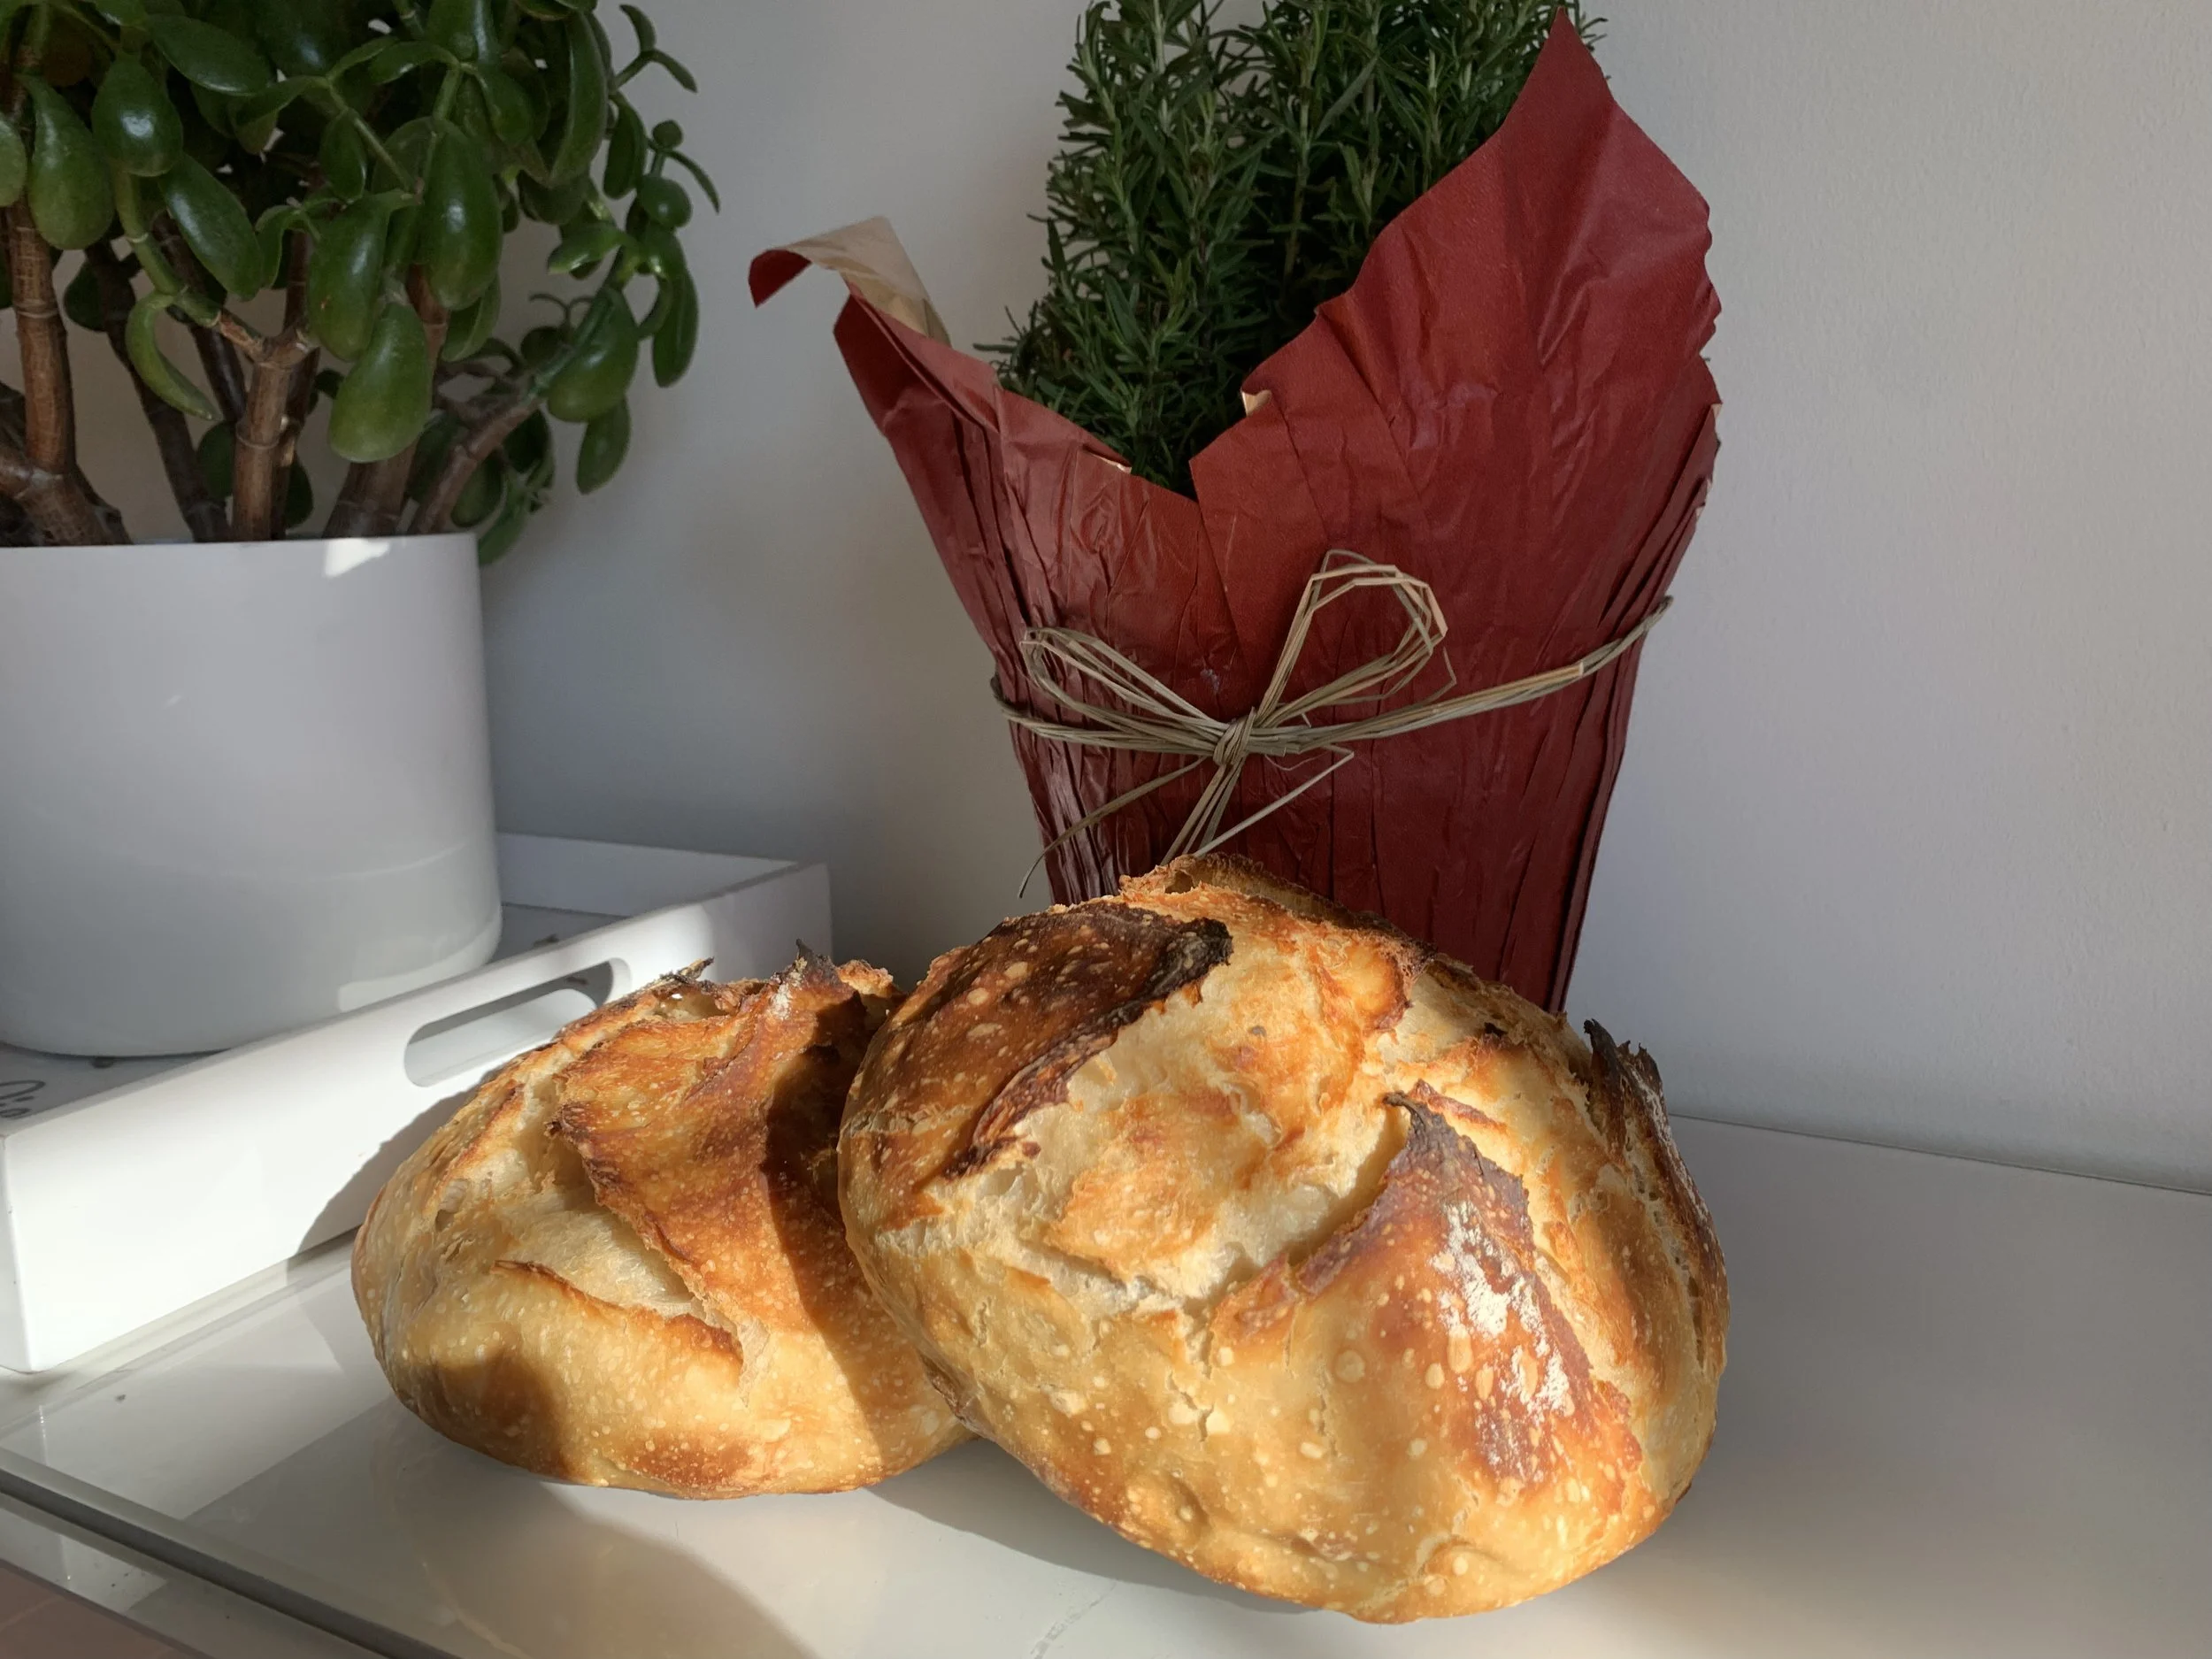
Like most people in 2020, I began a journey of making my own bread. It started out with pizza dough and then some easy no knead yeast breads, then with the encouragement of a friend, I started my “sourdough journey”. I can say that I am sure my bread is not ‘professional’ but it is delicious and pretty easy. Of course it it will never be as easy as a no knead bread or a yeast bread recipe that can be ready the same day. Sourdough will always take more time and be more sensitive than other breads. I think this is why is has this allure of “special” bread. And Listen, I have failed many a sourdough loaf and spoiled perfectly good bread by letting is overproof because I got distracted and didn’t bake it off in time. But for the most part, I have created a recipe which is relatively full proof, at least for me. And I highly encourage you to personalize your recipe as well. With a little experimentation, you can learn how to save a loaf or what time you should start the process in order to fit your needs. I will lay out my general recipe below. Remember there are no rules, just guidelines:)
Ingredients:
50-75g sourdough starter
350g water
10g salt
20g honey, maple syrup or just plain sugar- or just leave it out
500g flour, bread flour or AP
I feed my sourdough starter as often as I make bread and I otherwise keep it in the fridge. I will use the starter to make bread no matter how old it is or even if it is separated or “gross” looking. Just stir it up and use it. After you use some starter, then feed the starter, and let it sit out at room temp until is bubbles. Then I store it in the fridge. The starter could be an entire post on its own, as it is probably the hardest part of starting out to make sourdough and the most intimidating. I bought a dried sourdough starter, followed the package directions, and this is the starter I have used for the past 2+ years. I have fed it all different types of flours, ignored it for weeks on end, allowed it to explode all over my counter, and yet it lives on. Like I said, its more guidelines than actual rules…
Recipe:
place bowl on scale and zero out the scale
add starter
add water
add salt and honey (honey or sugar is optional)
stir
add flour
stir then lightly knead a few times
cover and let sit 15-30 minutes
remove cover and begin pulling the edges of the dough and you turn the bowl. Then flip the dough over on itself a few times and cover to let sit again. The dough will tighten up and that is when you know to stop messing with it and leave it alone.
let sit another 15-30 minutes
remove the cover and pull edges up again while turning the bowl. The dough with feel smoother and the flour will be completely hydrated. I will sometimes repeat this process a 3rd time before letting the dough rise overnight. Other times, I only have time for 2 stretches and it still works out. It really depends on when I decide to start my dough, If it is less than and hour before bed then mix mix mix, 2 pulls and stretches 15 minutes apart and cya in the morning dough!
allow dough to rise overnight, we are looking for it to double. It will be loose and jiggly but will still hold some shape and it will not be a puddle of sticky goo.
Dump the dough onto a floured surface and pull up the 4 “sides” shaping it into a ball. Flip it seam side down onto the work surface and use your hands to tuck and rotate the ball to create a surface tension across the top of the ball. Then place it seam side down onto a piece of parchment paper and put it back into the bowl, cover again for about 10-30 minutes. Sometimes I only have time for this rise to take as long as my oven has time to preheat, other times I can wait a bit longer. I would say, this is where things can go very wrong. If it over proofs here the dough will not hold its shape during baking and will be a dense puddle of bread. So I usually error on the side of shortening this rise and just getting it into the oven.
preheat over to 450 F, place dutch over in to preheat as well.
When the oven is ready and pan is heated, place the dough in the dutch over using the parchment paper to transfer the dough. Be care, the pan is 450 F!
score top of loaf with lame or knife.
replace cover and bake covered for 30 minutes, remove cover and bake another 15 minutes.
remove the pan and allow to cool a bit before using the parchment paper to lift the loaf out of the pot. Allow to cool completely before slicing or storing. I will generally bake bread in the morning then allow it to sit out on my stove top all day.
It is is important to allow the bread to cool before slicing otherwise it will be wet and doughy on the inside and you really can’t recover from that once you cut open the loaf. In general, other than focaccia, I let all my bread cool completely before slicing. Enjoy:)