One Day Sourdough

I have posted my sourdough recipe before but recently I have streamlined my process to be able to prep the dough in the morning and bake off a loaf of bread in the evening. Or conversely, I can prep the dough before bed and bake it off in the morning. I think this has made it even easier to bake our favorite bread. You can also make this recipe in a loaf pan. I wanted to share because I know a lot of people want to make sourdough bread but feel overwhelmed by the starter, all the steps and the many many online tutorials. I will explain how I feed my starter as part of my baking process. There will be links to several videos at the bottom to show how I make the bread, feed my starter and bake it in a loaf pan. The only deal breaker, I feel, is that you will need a kitchen scale. It really is necessary for success.
Ingredients:
50-60g starter
350 g water
10g salt
500 g AP flour (I prefer organic unbleached AP flour but use what you have)
Recipe:
Using a scale, place your preferred mixing bowl on the scale and zero it out. Measure 50-60g of starter into the bowl, then the water, salt and AP flour.
Take the mixing bowl off the scale and place your jar of starter on the scale. (I do not decant my starter into a new jar every time I feed it. There is usually about 10-20g of starter left in my jar so I just add flour and water to it and mix.) Zero out the scale and add 20-30g of AP flour as well as 20-30g of water. Mix the starter, flour and water together. It should look like the consistency of pancake batter. Put the lid back on the jar and set aside on the counter until it is bubbly, then store in the fridge until you want to bake bread again. (See picture at the end of a bubbly starter)
Now mix your bread dough using whatever spoon you feel like. I usually just use a tablespoon because that is what I used to scoop out my starter. Once it gets too hard to mix with a spoon, switch to your hands and mix until it is a sticky, shaggy ball. Cover and let sit for 10-15 minutes. (Usually I will just clean up the kitchen or make lunches etc then come back to my dough.)
After 10-15 minutes, remove the cover and knead the dough. I like to pull up the dough from the edges while rotating the bowl then I just start to flip the dough onto itself in the bowl. I think it is best to see how this works so please reference the videos at the end. Basically I am giving the dough a pretty good knead here because this is the last time I will handle it until it’s time to shape and bake. The dough should be a smooth, slightly shiny ball. Cover and let sit for 8-10 hours. (This will depend on the temperature of your kitchen, warmer will proof faster, cooler with proof slower. You can also put the bowl in the microwave to try and regulate the temperature more.)
Later that night (or the next morning) when you see the dough has about doubled, remove it onto a floured surface and shape the dough but pulling the edges up like you are wrapping a present with a towel. Then either flip into a proofing basket or flip the dough, seam side down, onto a piece of parchment paper and put it back into your mixing bowl for its second proof while the oven preheats. Cover the proofing basket or mixing bowl and set aside while you preheat the oven.
Place your dutch oven in the oven while you preheat to 450 F. Once the oven is ready, it’s time to bake. If you used a proofing basket, invert your bowl onto a slit mat or parchment paper to make it easy to lower the dough into the pot or just flop it into the pot by inverting the proofing basket over the pot. This will make a bit of a flour mess. Or if you proofed in your mixing bowl, just lift it out by the sides of the parchment and lower into the pot. Score the top of the bread in whatever pattern you like with a sharp knife or lame and place the lid on on the pot. Bake 30 minutes with lid on. Then remove the lid and bake for an additional 15 minutes. Remove from the oven and allow to cool before slicing. Or don’t because warm bread is delicious and you might be hungry:)
If you are baking in a loaf pan, follow the same recipe but when you turn out the dough for shaping, you will again pull up the sides like a present and then flip the dough seam side down and tuck the edges while you rotate (again if this doesn’t make sense, refer to the video) then just plop the dough seam side down into a loaf pan. I do put a light dusting of flour in the bottom of the loaf pan before I put the dough in. Cover and preheat the oven to 450F. When the oven is preheated, make a slice across the top and bake for 30-40 minutes until golden brown on top. Allow to cool for about an hour before slicing.
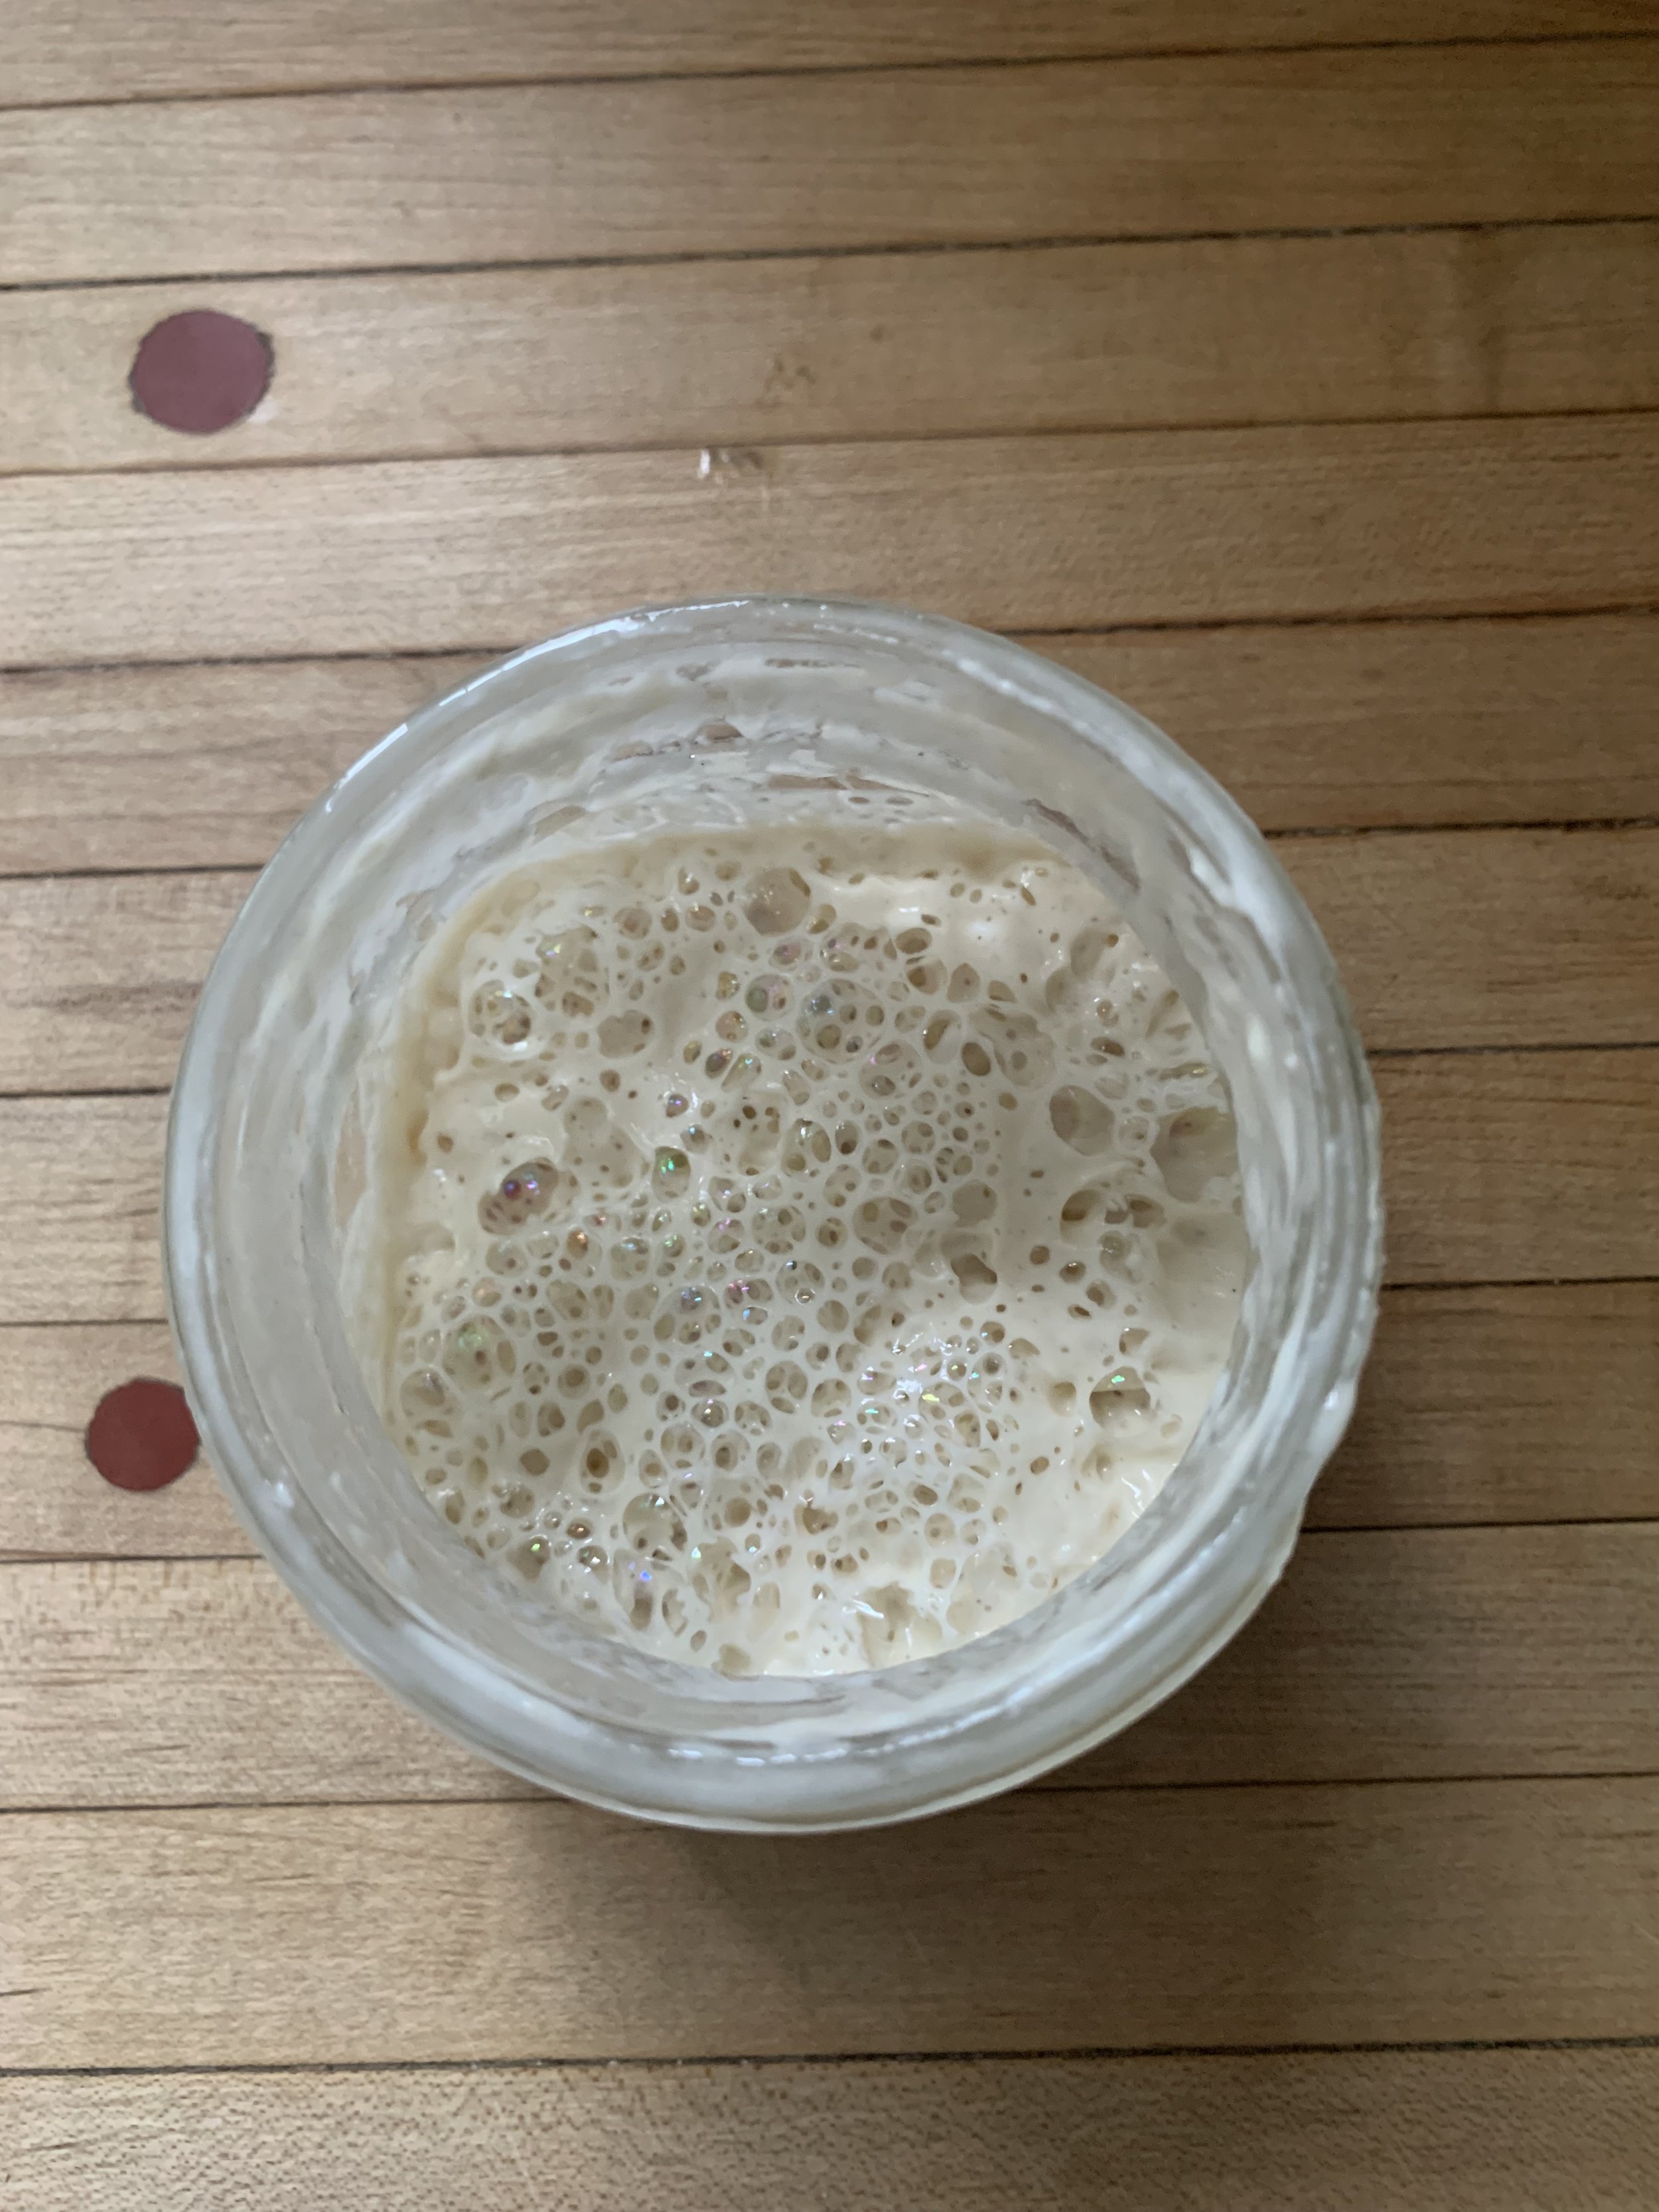
Bubbly starter. This is what my starter looks like the night after I feed it. You can use it right away to make more bread or store in the fridge for several weeks. If you do let it go a few weeks without feeding, then I recommend feeding the starter once before you make bread again but if it has been a week or less, just take the starter out and use it right away.


