6 Tips Before Starting Your Garden

I have been gardening for about 6 years now. Mostly trying to grow my own food and then for the past 3 years raising chickens for eggs. I have put in gardens in 2 different houses and mostly been guided by whatever I was feeling or wanting. I did start out by reading garden books and then for the past few years watching gardening content on Youtube or Instagram. I have always been a person who really learns best by doing. I like to get a general idea of how to do something then try it on my own. This means I make mistakes and don’t always plan out out every step. It also means I am never stuck in one stage. I am naturally an adaptable person who thrives on problem solving. My husband on the other hand is a person who thrives on planning, researching and will not start a task until he is sure he is an expert. Over the years we have both taken on a bit of each others attitudes towards new tasks. I am have become more of a planner and he is more open to improvise. What I will say is that I wish someone had shared these 6 tips with me before I started my gardens. Even if you are planting in an established garden, starting out is still no small task. It’s physical labor and of course there are costs. Although everything is fluid and can be moved, redone etc, it sure is easier if you start out with a bit of a plan over all.

pallet compost bin
Tip 1. Plan your compost solution before you plan your garden.
This one is probably not what most people recommend first, but I will say, it is one of the most important steps to having a home garden. One that I wish I had planned first when we put in our first garden. The reason why this is so important is a garden creates waste. You need a place to put the spent plants, trimmings, plants you can’t eat for one reason or another. Yes chickens help with this as they will eat most of the waste from the garden, but we can’t all have chickens. I would say, no matter the scale of your garden adventure, start your compost first. If you have a patio and are planning on planting out a few containers, get a small patio composter or worm bin. You will still need a place to get rid of the waste from the garden and you do not want to throw it is the trash. Plant waste, like food waste should not be thrown away in the curbside garbage can. It will not break down in a landfill. There is no oxygen in that environment and as the waste tries to break down it will end up releasing methane which is a dangerous green house gas more potent than CO2. Also you will completely miss out on the cost saving benefits a composting system will offer your garden. Garden soil and compost cost money when you buy them from the store or have them delivered by the truck load from a landscape company. If you are using your garden waste to create more compost to top off your beds or containers you will be saving yourself tons of money in the long run.
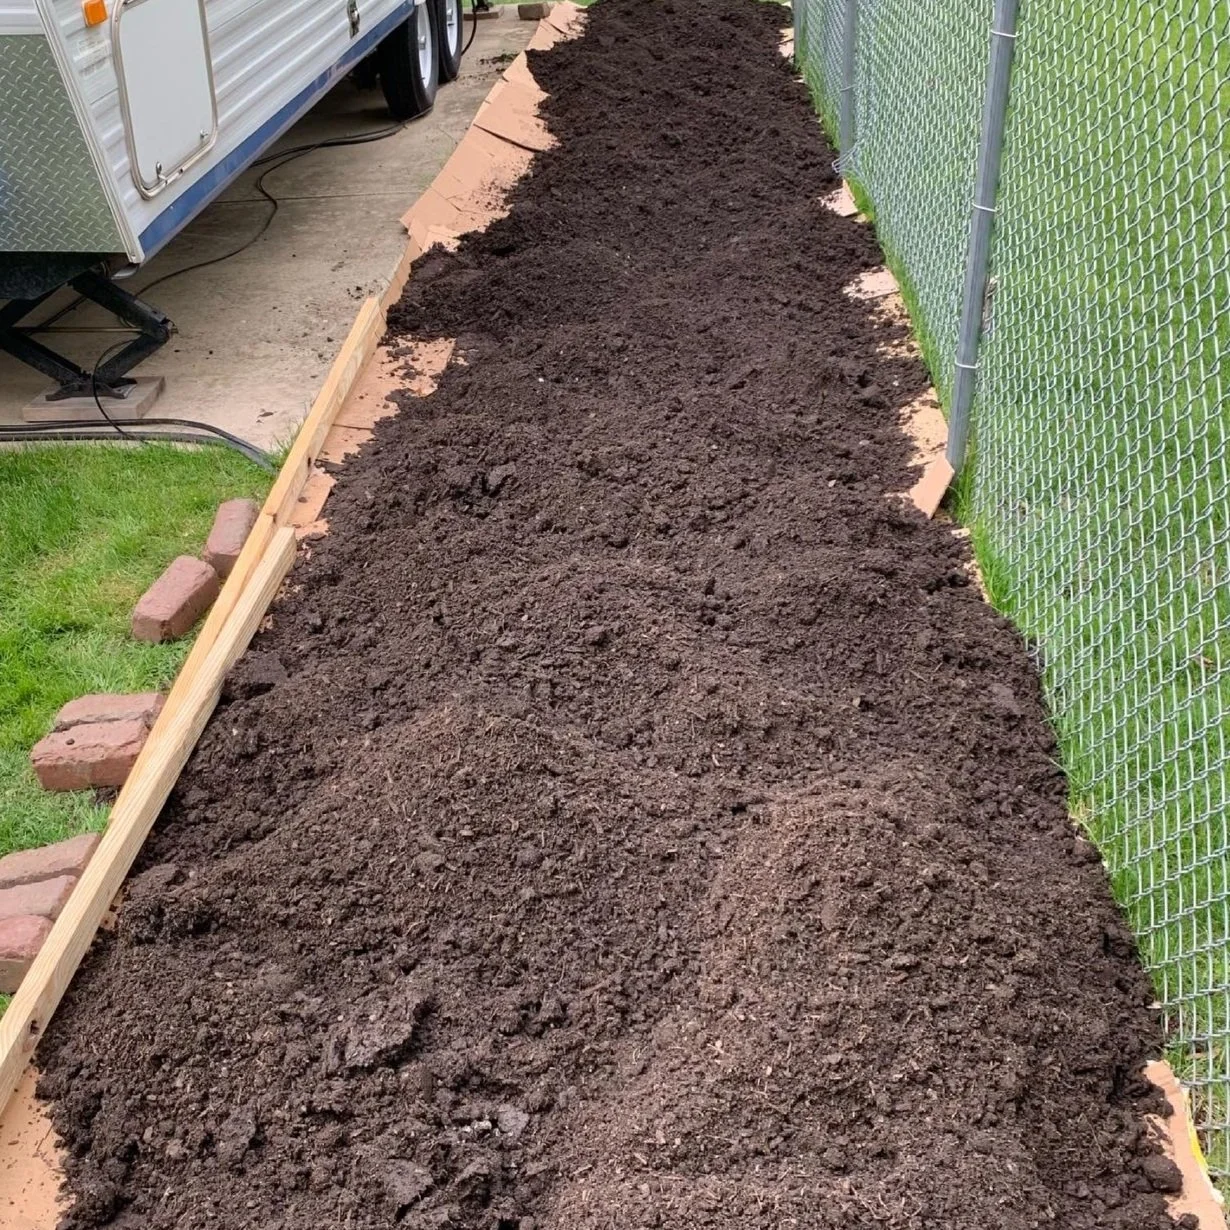
garden soil

raised bed garden
Tip 2. Research the types of gardens before deciding what to install.
There is a lot to consider here but first of all, what are you drawn to? What do you like? What does your space allow for? Do you live in a condo, a house, do you own or rent? Do you have an HOA? All these questions will inform what kind of garden you will be able to install. If you rent, you will likely not want to install a permanent bed and may be more drawn to containers or grow bags. Do you rent where you have access to a yard or is your access a patio? Maybe you plan on living at your rental longterm and you want to plant in ground, what kind of soil type do you have? If you own a home but have an HOA, make sure you check before installing any garden beds because unfortunately many HOAs do not allow you to grow food in plain site. I know, shocking! Your tomato plants are so offensive:)- How big of a space are you working with and how much yard are you willing to devote to a garden? Where is your water supply and what is your water supply? There is a lot to consider so make sure you spend some time with these questions before acting on a plan.

potatoes grown in a grow bag
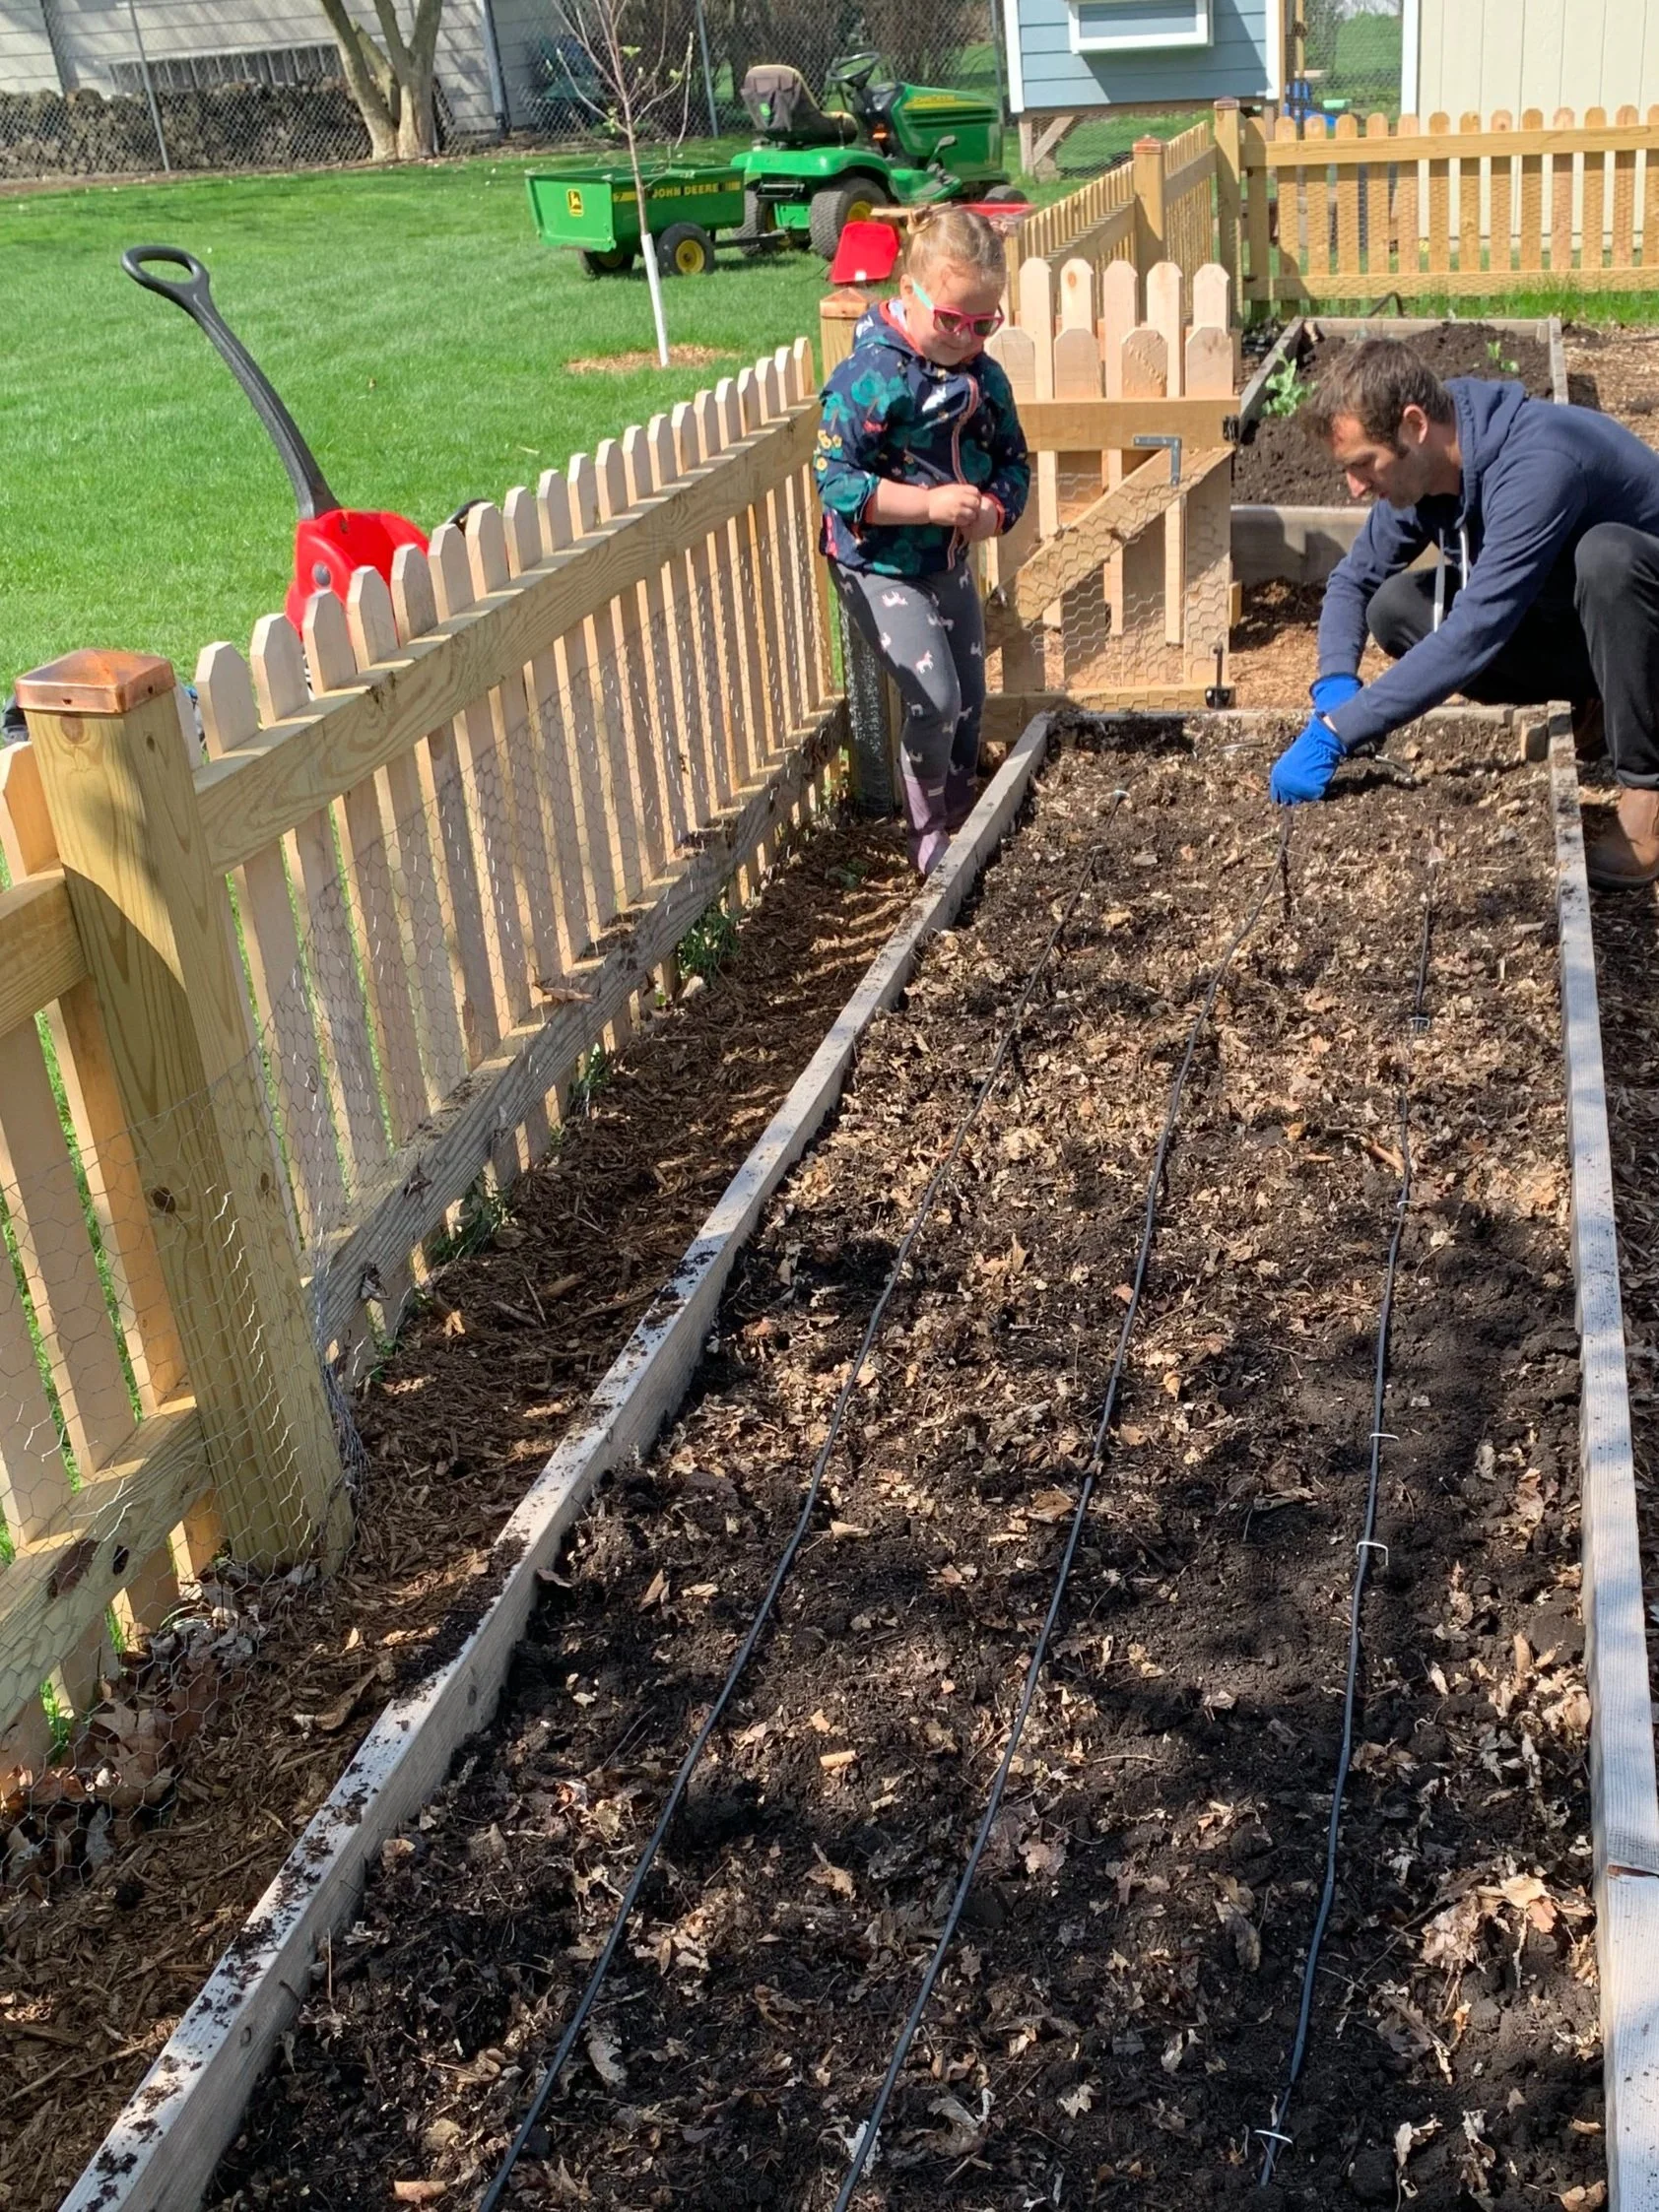
installing irrigation to raised beds
Tip 3. Consider your budget and stick to it.
There is no denying that starting a garden has costs and depending on what kind of garden you are planning it can cost a lot or a little. Raised beds are beautiful and all the rage on Instagram and social media but they are resource intensive and expensive to install even if you use found materials to make the beds, you still have to fill them in with soil and compost and re tip 1, that costs money. Also there are supports, fencing to keep pests away, seeds or plants, irrigation etc. I recommend writing down your all in number and sticking to it. The only way to do that is by researching. If you want containers, then what do they cost, how much soil do they need, what does that cost? If your all in budget is $500 for the entire garden start and first season, I recommend you build your own raised bed instead of buying one online and don’t go to big because you still have to fill it with dirt and plants. There are lots of budget ways to garden. You can start your own seedlings which is much cheaper than buying plants at the garden center. You can grown in ground or make a No Dig bed. This system invented by Charles Downing (if you aren’t following him, then stop now and do that) is budget and labor friendly. You cover the grass with cardboard then layer about 4-5 inches of compost on top and start growing. You will be into it for the compost and any other fencing or supports you may need. Make sure you measure your space so you know how much soil or materials you will need so you can best estimate costs. If you are on a strick budget, then take it one year at a time. Put in your compost system one year, measure out your beds and cover your grass the next and then start planting the 3rd year. Never go into debt over trying to have the “perfect” aesthetic garden. It’s meant to grow food, not win a beauty contest. Over time growing your own food will be cost effective but not right away so don’t break the bank getting started.
installing a no dig bed

truck full of garden soil
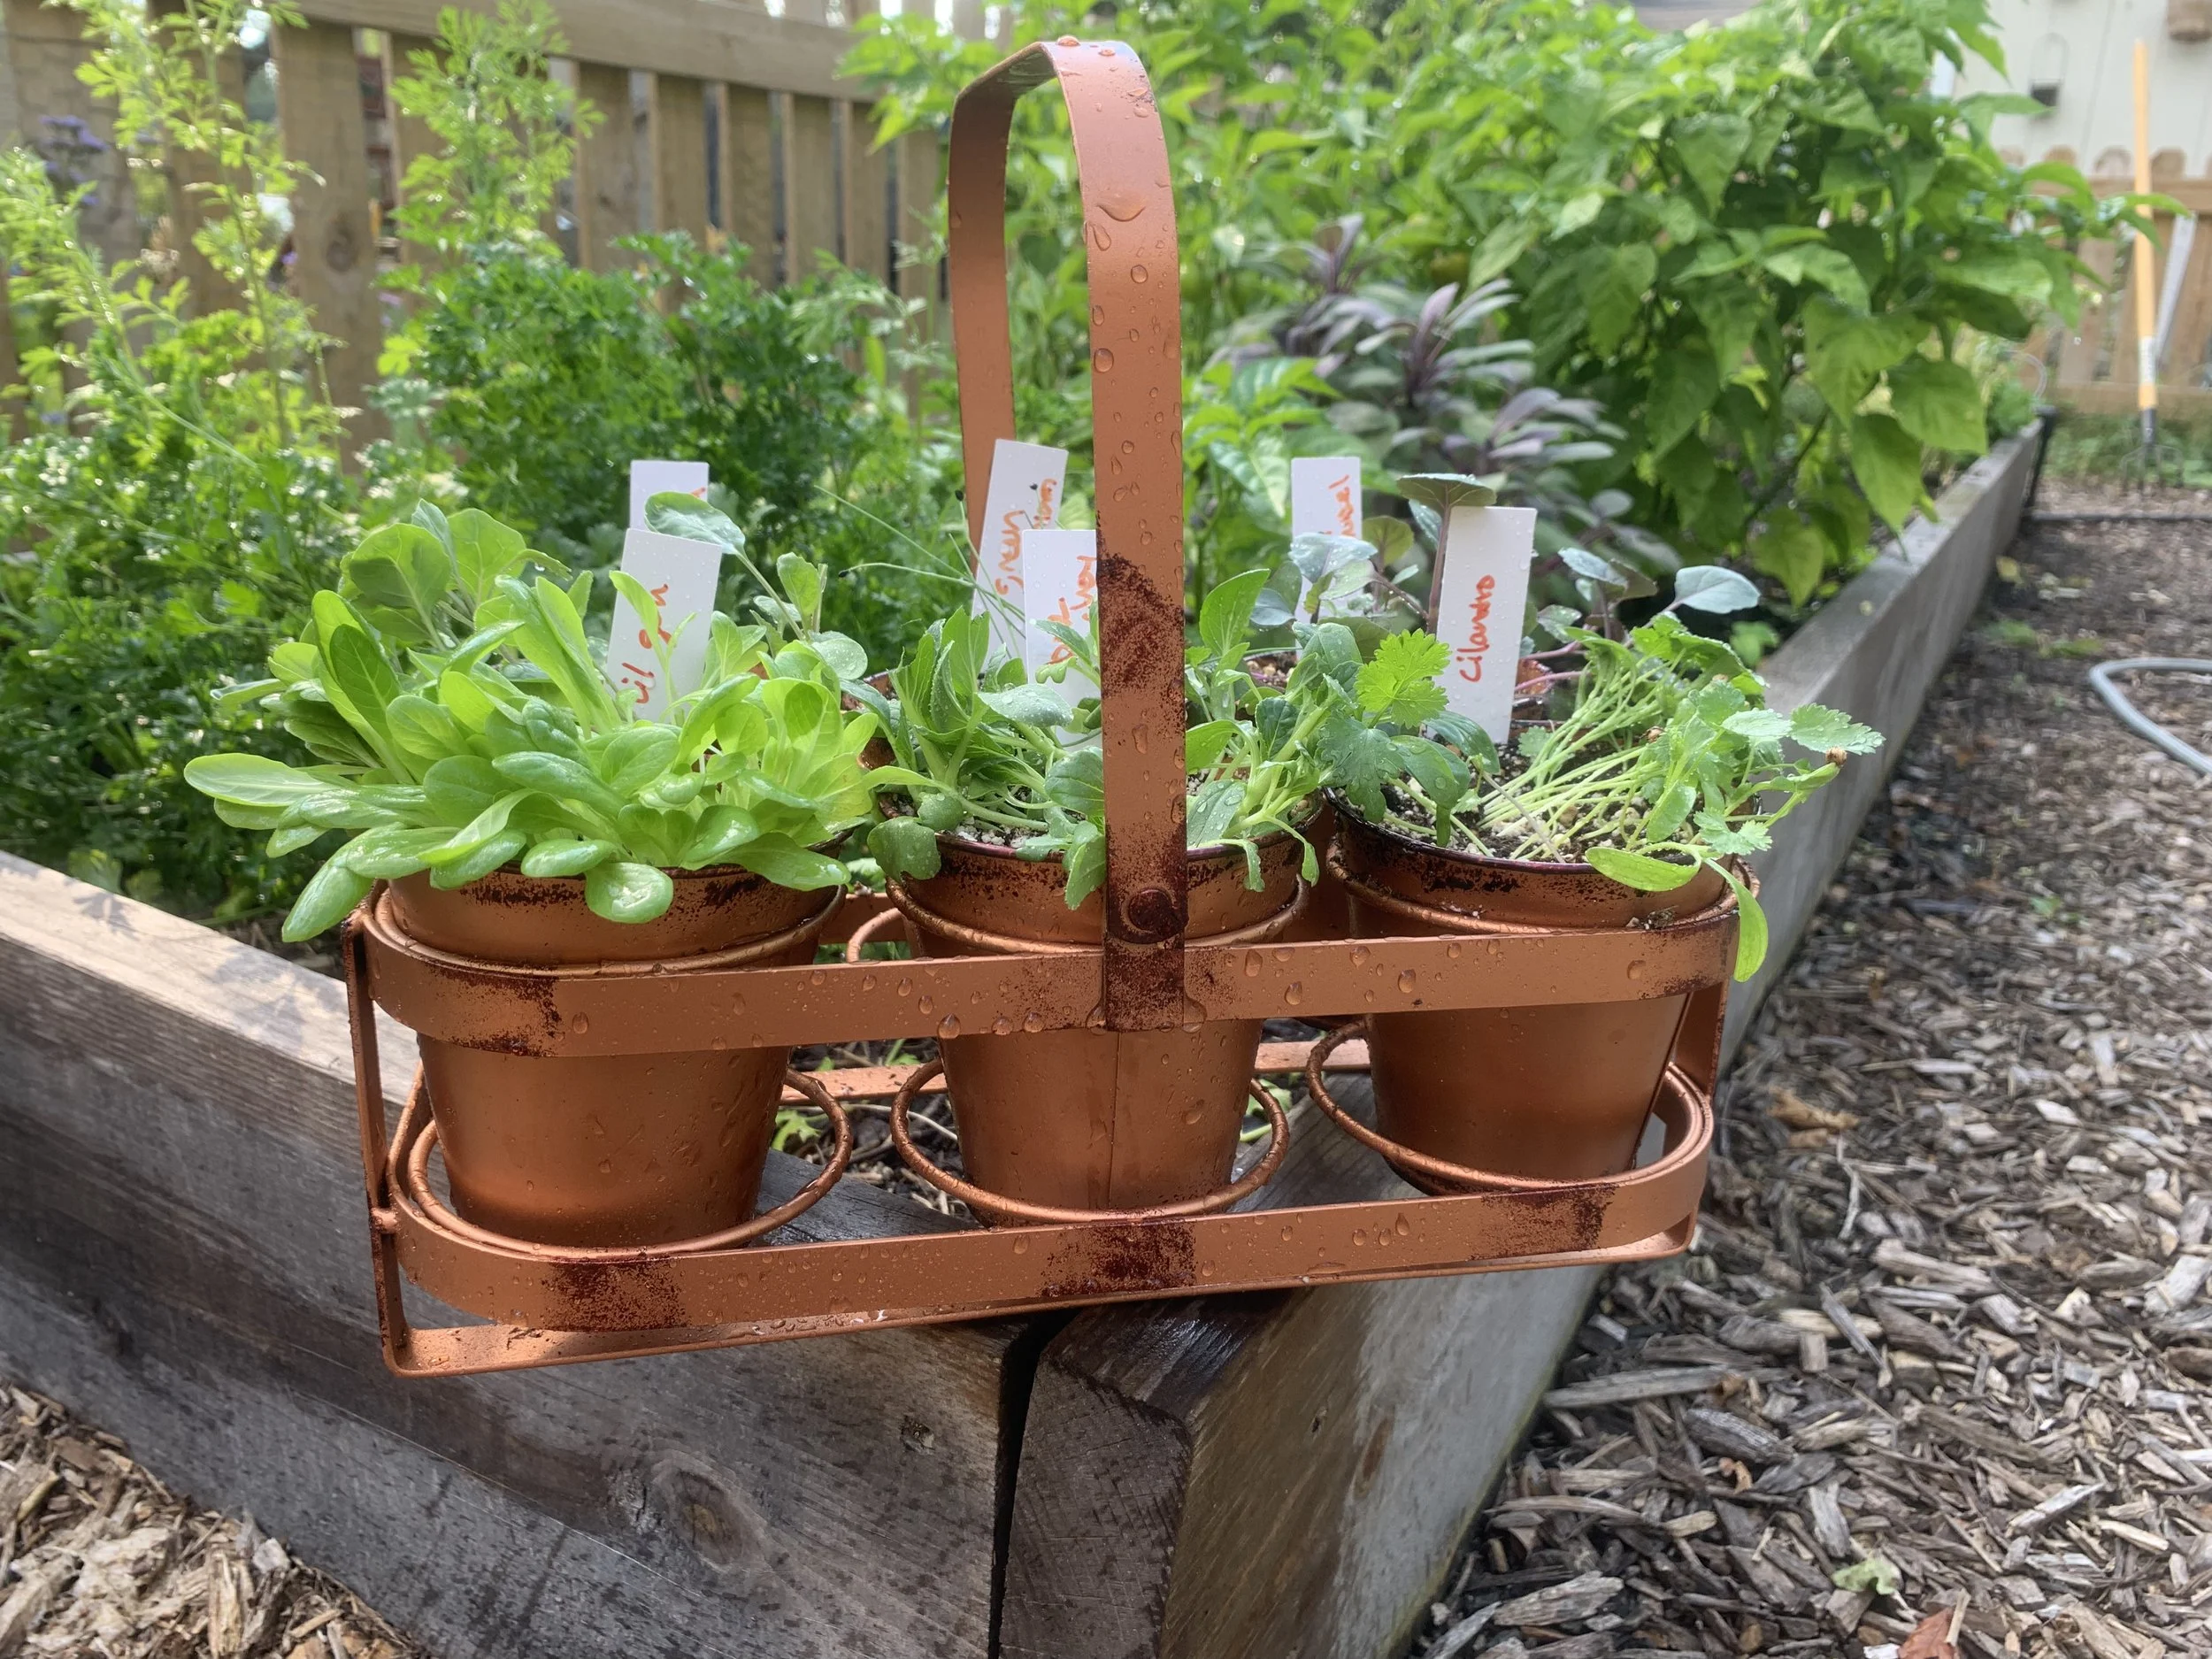
seedlings

variety of seed packets
Tip 4. Plan what you want to grow.
What you are interested in growing informs a great deal on what kind of garden you will install. What kind of resources you will use and how much it will cost helps you decide what you need. If you are a summer vegetables person and tomatoes, summer squash and peppers are your jam, then don’t go crazy putting in a gigantic bed. You only need a couple of each of these plants to have plenty of tomatoes, squash and peppers for you or your family. If you are a herbs and greens type person, containers and small beds may be all you really need so you can succession plant and move the containers around to keep them out of the summer sun and heat. If you want corn or wheat, you will need some space. Certain plants require a lot of irrigation while others are more flexible. I usually write down what I want to eat then go from there. In years past I tried to grown things just to grown them, then found out I didn’t like them and no one wanted to eat it. For example, we eat a small amount of kale. Probably one plants worth will work for our family. But it is so easy to grow and everyone was so hot on kale in years past, I planted tons of it only to wonder, why do people like kale? So don’t get sucked into shiny ball syndrome. I too love seed catalogs and Instagram reels of people showing what they grow, but at the end of the day, if you don’t want to eat it, don’t bother growing it.
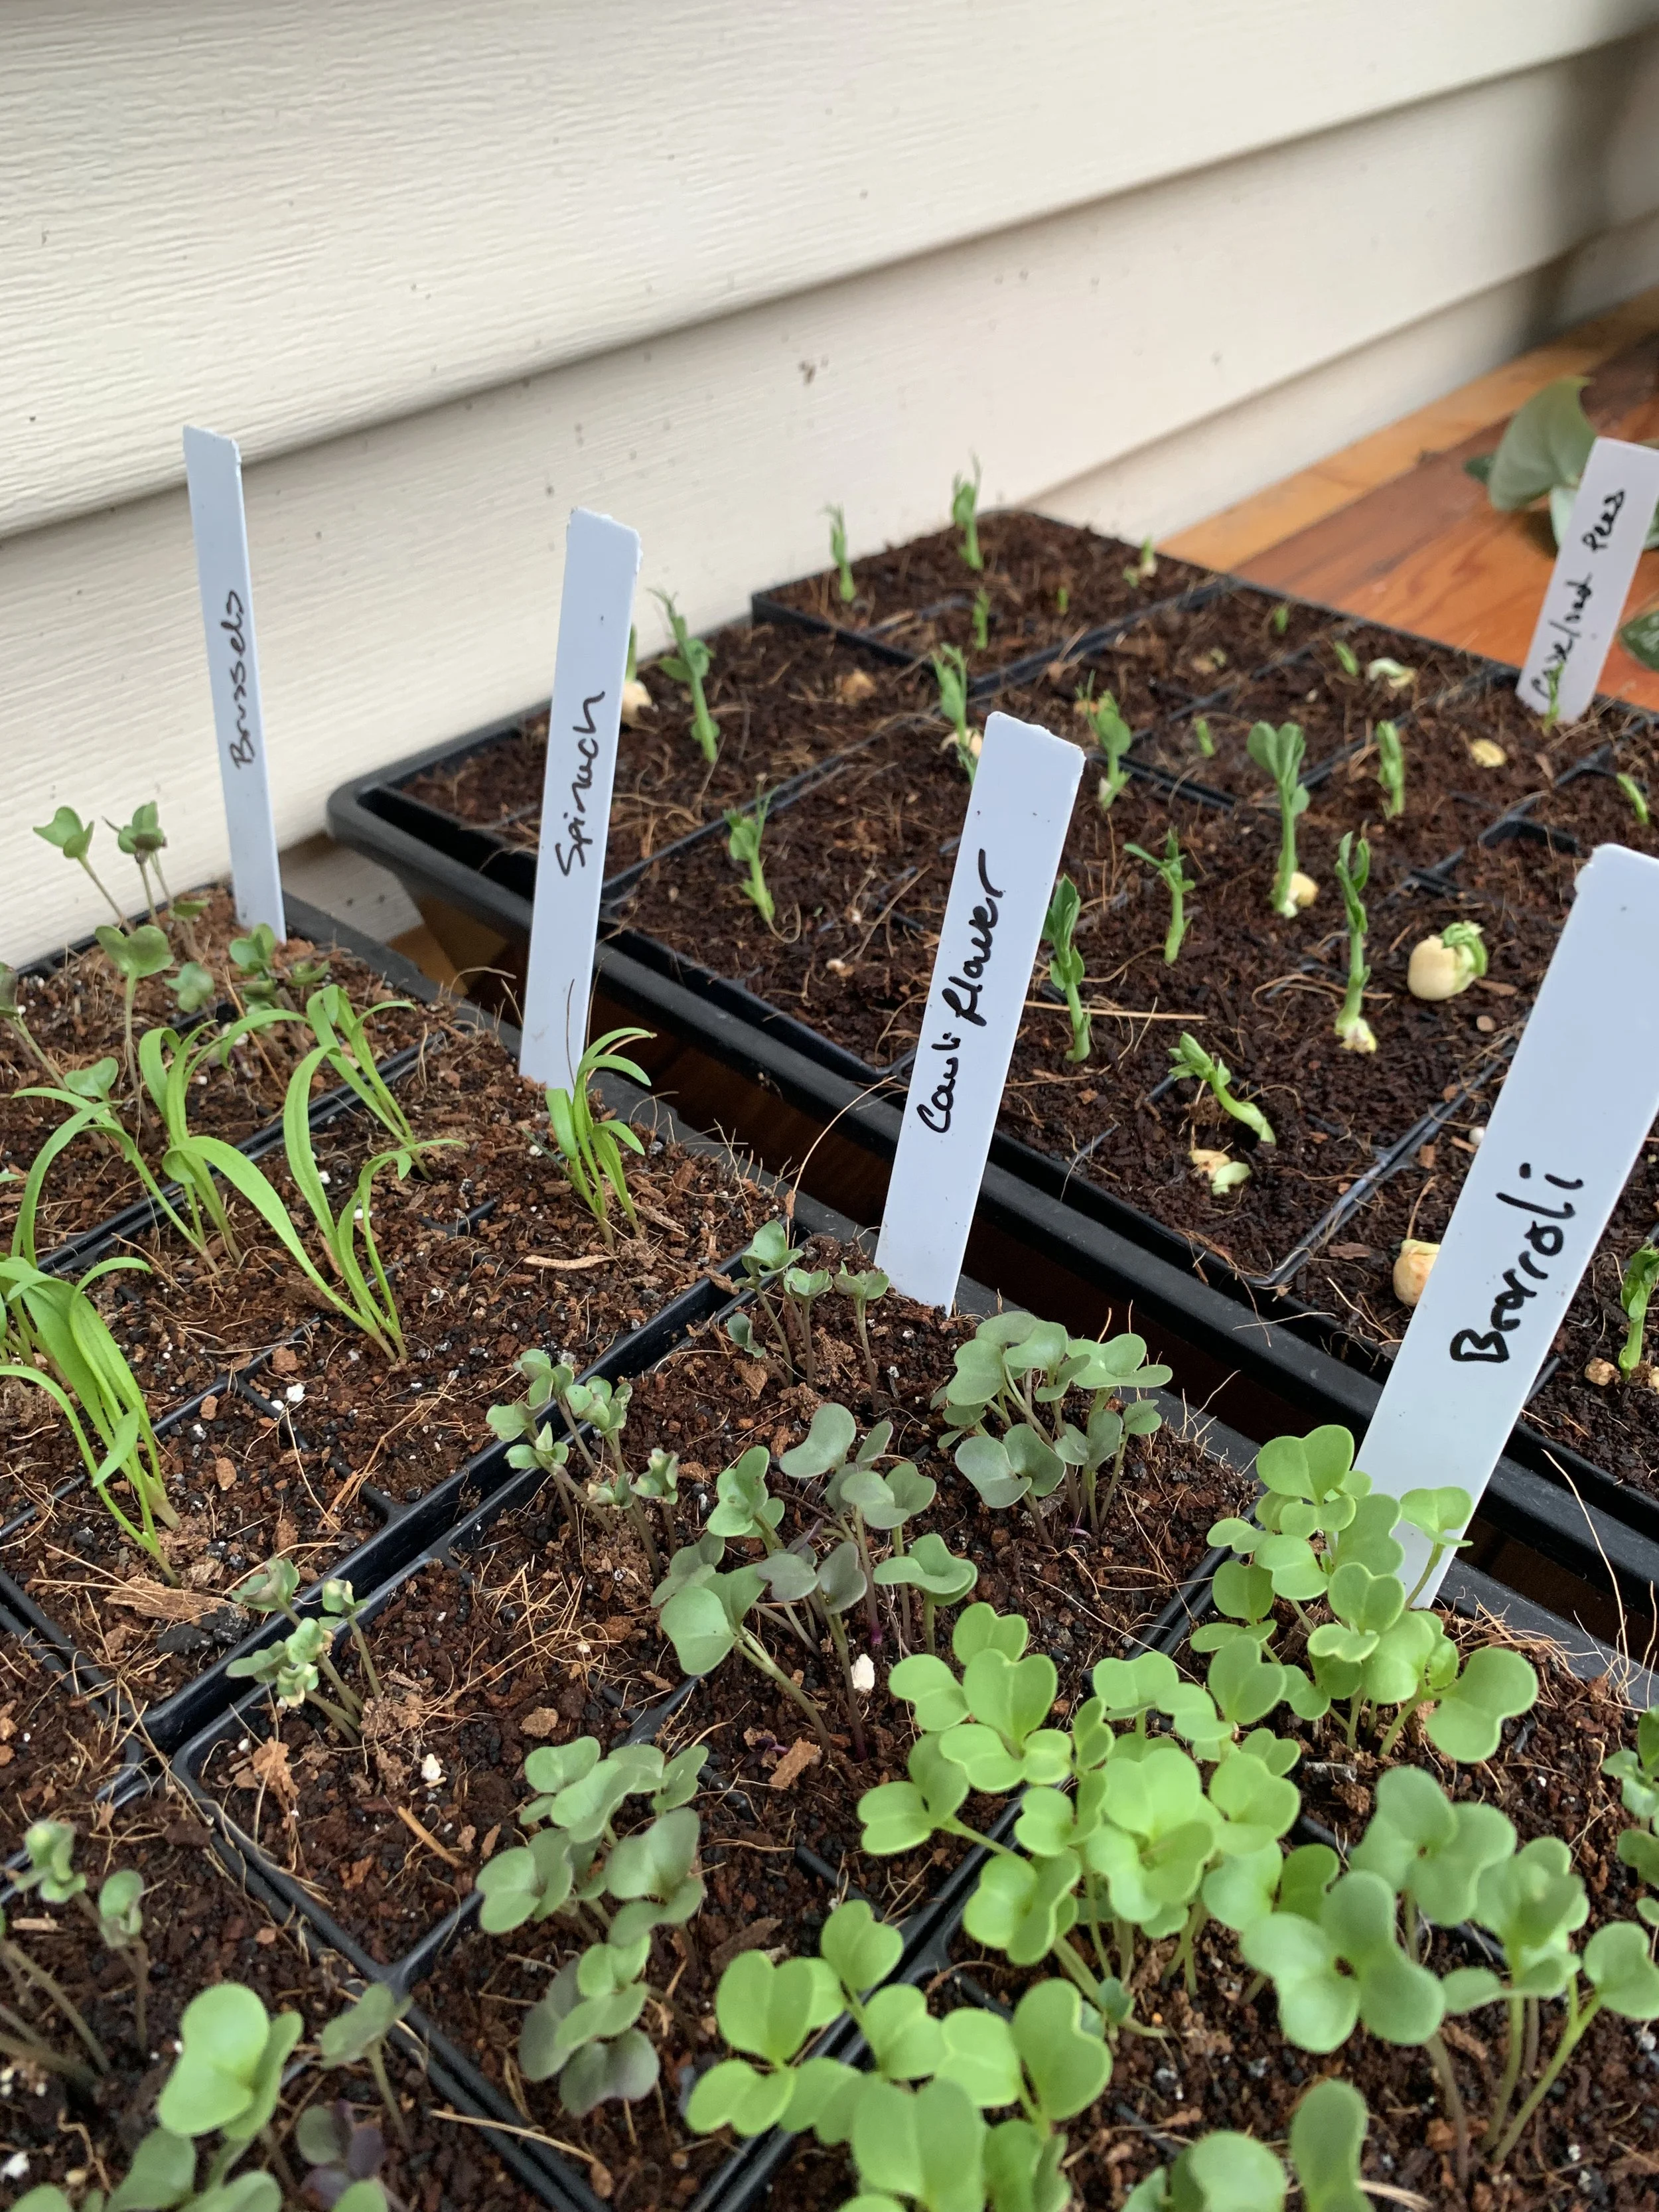
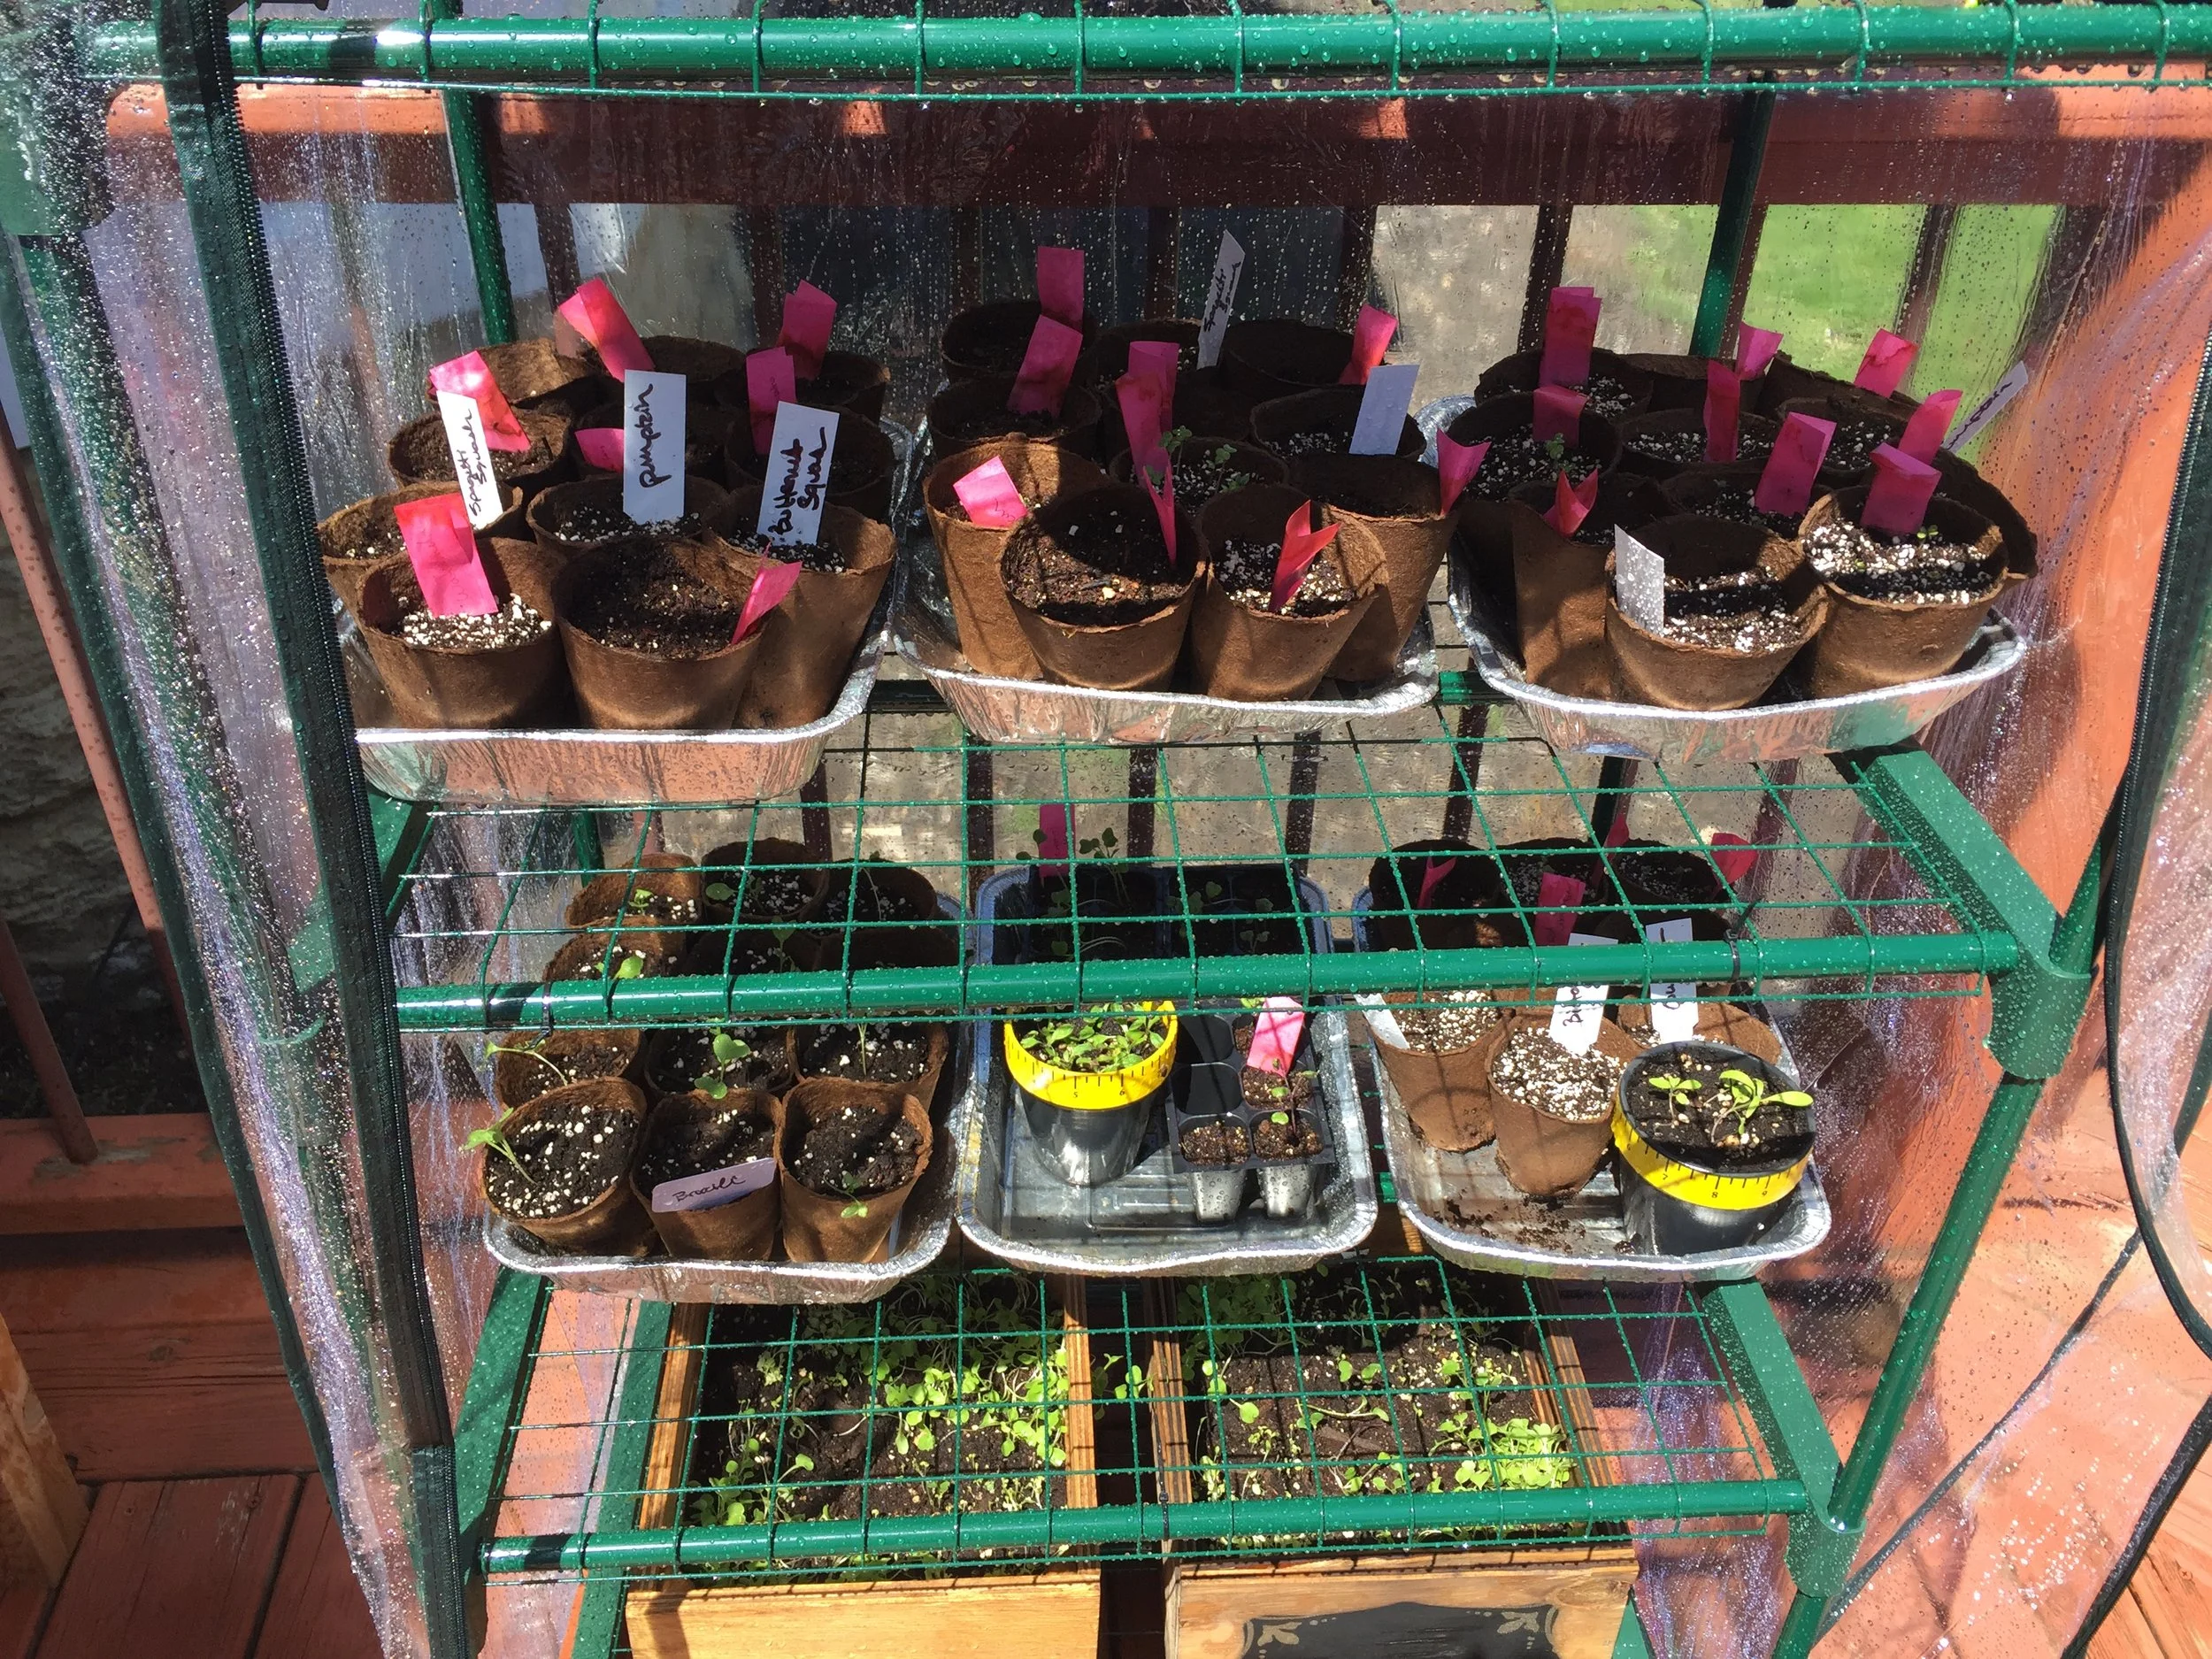
seedlings

green house covers for spring plants
Tip 5. Consider your time table.
If you are hot to start a garden but it’s already July, then you have missed your opportunity to grow tomatoes, peppers, corn, and pretty much any summer vegetable for this year. You can still plant some things for fall, like broccoli, cabbage, maybe a harvest of carrots, some herbs etc. But you could still make some strategic moves to set yourself up for the next year. After failing to get anything to grow in our native soil one summer, we scrapped the idea and started planning out a raised bed garden. My neighbor kindly gifted me her lumbar from her unused garden beds and we cut them down to size and began to lay out our garden for the following year. I was able to get soil, mulch and put in a fence before we really grew anything. So just because you haven’t started yet doesn’t mean you can’t. When I first started I thought you just put the seeds in the soil, water them and set it and forget it. Since I learn best by doing it was very informative to me the first year to see an absolute explosion of things growing and then quickly watch as all those plants got unruly and out of control. It was a beautiful disaster to say the least. After that I did more research about timelines, when some plants want to be planted, when to start seeds inside, when to direct sow. Every year I learn more and more. A planting calender can be super helpful. There are free ones online that will break it down by zone. Urban Farmer has one which is very good and Charles Downing has a planting calendar that you can order online but depending on your zone, you may have to modify it a bit. By researching the timeline of what you may what to plant, you can get more out of a small space and likely save yourself money and time in the long run.

building the fence for raised bed garden

lettuce and radish harvest

fall raised bed garden
Tip 6. Just do it.
After all this thinking and planning your brain might start to second guess if you should even start on this project. What if I kill everything? What if I spend too much money? What if I hate it? What if (insert excuse here)? There comes a point with any project that you have to just stop planning and start doing. This is the point we are at right now. You have compost system, you have your raised bed material measured and priced out, you know your budget, you know what you are going to plant and when. What are you waiting for? Get to it!
seedlings in temporary green house