Growing Garlic
There are not a ton of things I can plant in the fall in my zone (5b). But as we gear up for winter weather, we can plant hard neck garlic to harvest in the early summer. Hard neck garlic needs to freeze during its growth cycle. This process is called vernalization. This is basically when a seed needs to first freeze before it can flower. This is why bulbs are planted in fall as well as hard neck garlic. They require vernalization to grow in the spring.
I usually buy a few different kinds of hard neck garlic. Soft neck garlic is planted in the spring and what you will more traditionally find at your local grocery store. You want to plant hard neck garlic in the ground at least 2 weeks before the first frost and up to 6 weeks before the last frost. I have seen people try to plant the garlic from the grocery store but since it is likely soft neck garlic, it will not work in this context. If you have grown enough garlic from the year before, saving your biggest and best bulbs to plant again the next year is also an option. I typically do not have much left over in the fall so I will order mine from a seed supplier. Garlic is pretty easy to grow and is very satisfying to harvest. Home grown definitely tastes better than the varieties you can buy at the store. It also keeps for a long time and makes great gifts to your friends and family.
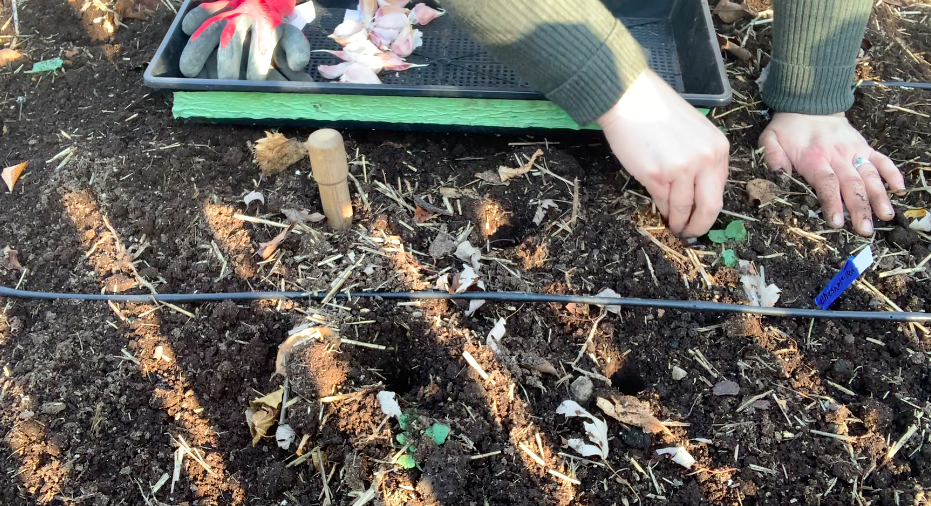
There are a lot of tutorials out there for planting garlic but I just separate the cloves making sure the paper and the root end stay intact. If the cloves are very small, just use them for cooking and try to plant the larger ones. Also any cloves where the paper came off or was loose, I just used for cooking. Never plant any cloves with mold on them or signs of disease. They won’t grow and you are introducing pathogens into your soil. Plant cloves about 6 inches deep and 6 inches apart. I just eyeball the spacing and I like to use this wooden marking stake as my hole digger.
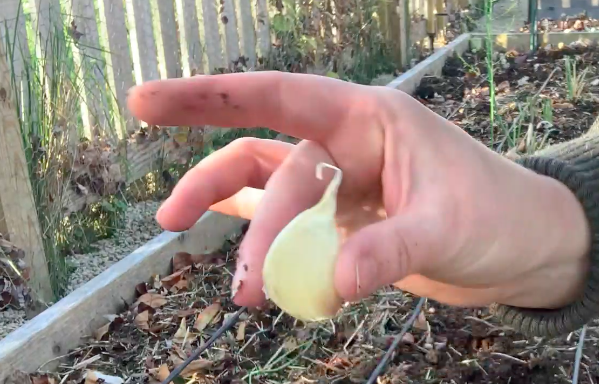
Make sure you plant the cloves with the pointy part or top of clove facing up and the root bit facing down.
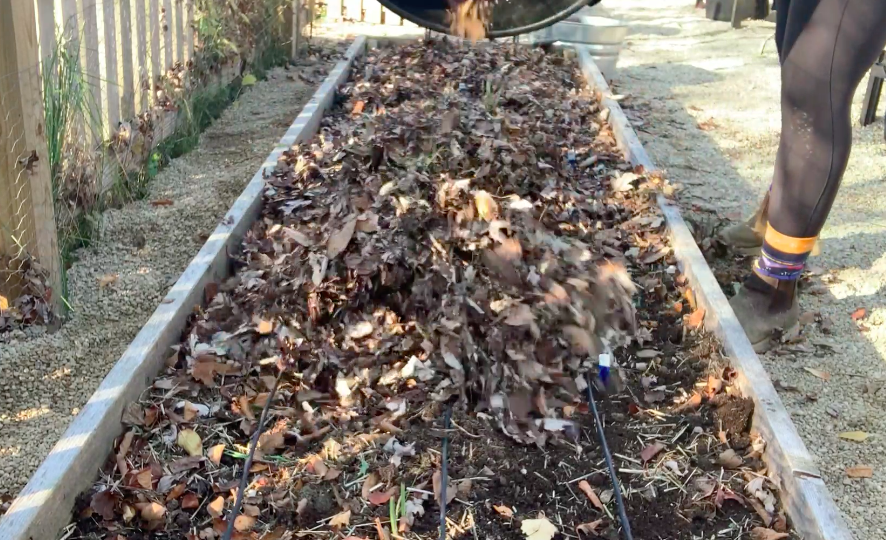
After finishing planting the cloves, cover with a thick layer of mulch. The mulch I used here was just leaves we had picked up from our yard but you can use straw or compost.
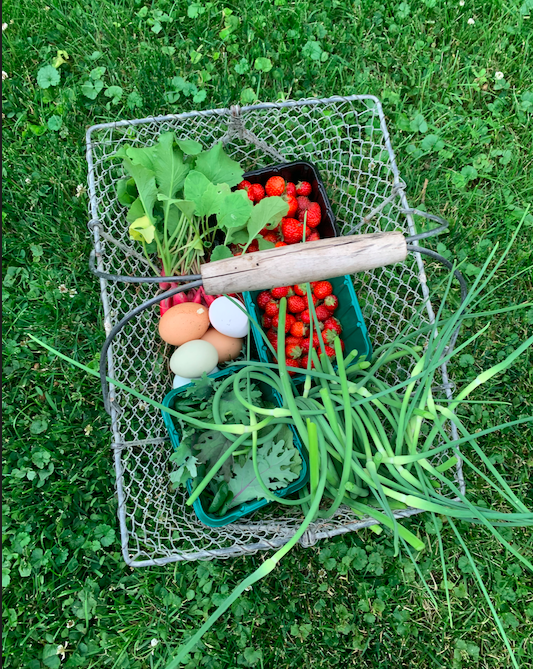
In spring, the garlic plant will produce a scape. This is the garlic flower. You can let them flower to enjoy the bloom but if you plan on harvesting your garlic for eating, it is best to cut the scapes off to encourage the garlic to focus on growing a nice big bulb underground. The scapes are delicious and have a nice mild garlic/onion flavor. I like to use them in stir fry or in scrambled eggs. They are also great in sauted mushrooms. I will link a scape and mushroom risotto recipe here.
I have found over the years that garlic is very forgiving. So It is a good beginner crop to grow and works perfectly for the grower who got a late start on their garden over the summer because you can plant it in fall for a early summer harvest. If you didn’t get your garlic in this fall, no worries. You can plant the soft neck variety in the spring.
You will know that the garlic is ready to be harvested when it starts to turn brown. Once the bottom 3-4 leaves are completely brown, pull the bulbs out of the ground. Just pull gently on the stalks. Then tap off the excess dirt and leave to dry and cure for about a week. I like to lay mine out in my garage on our work table. Just make sure the environment is actually dry not humid as this could lead to mold. Sometimes I will run a box fan just to keep the air moving in my garage if it is humid outside. Once they have completely dried out, trim off the dried roots and stalks and brush off any remaining dirt. They will last all winter in a cool dark spot.


