Review: One Stop Gardens Greenhouse
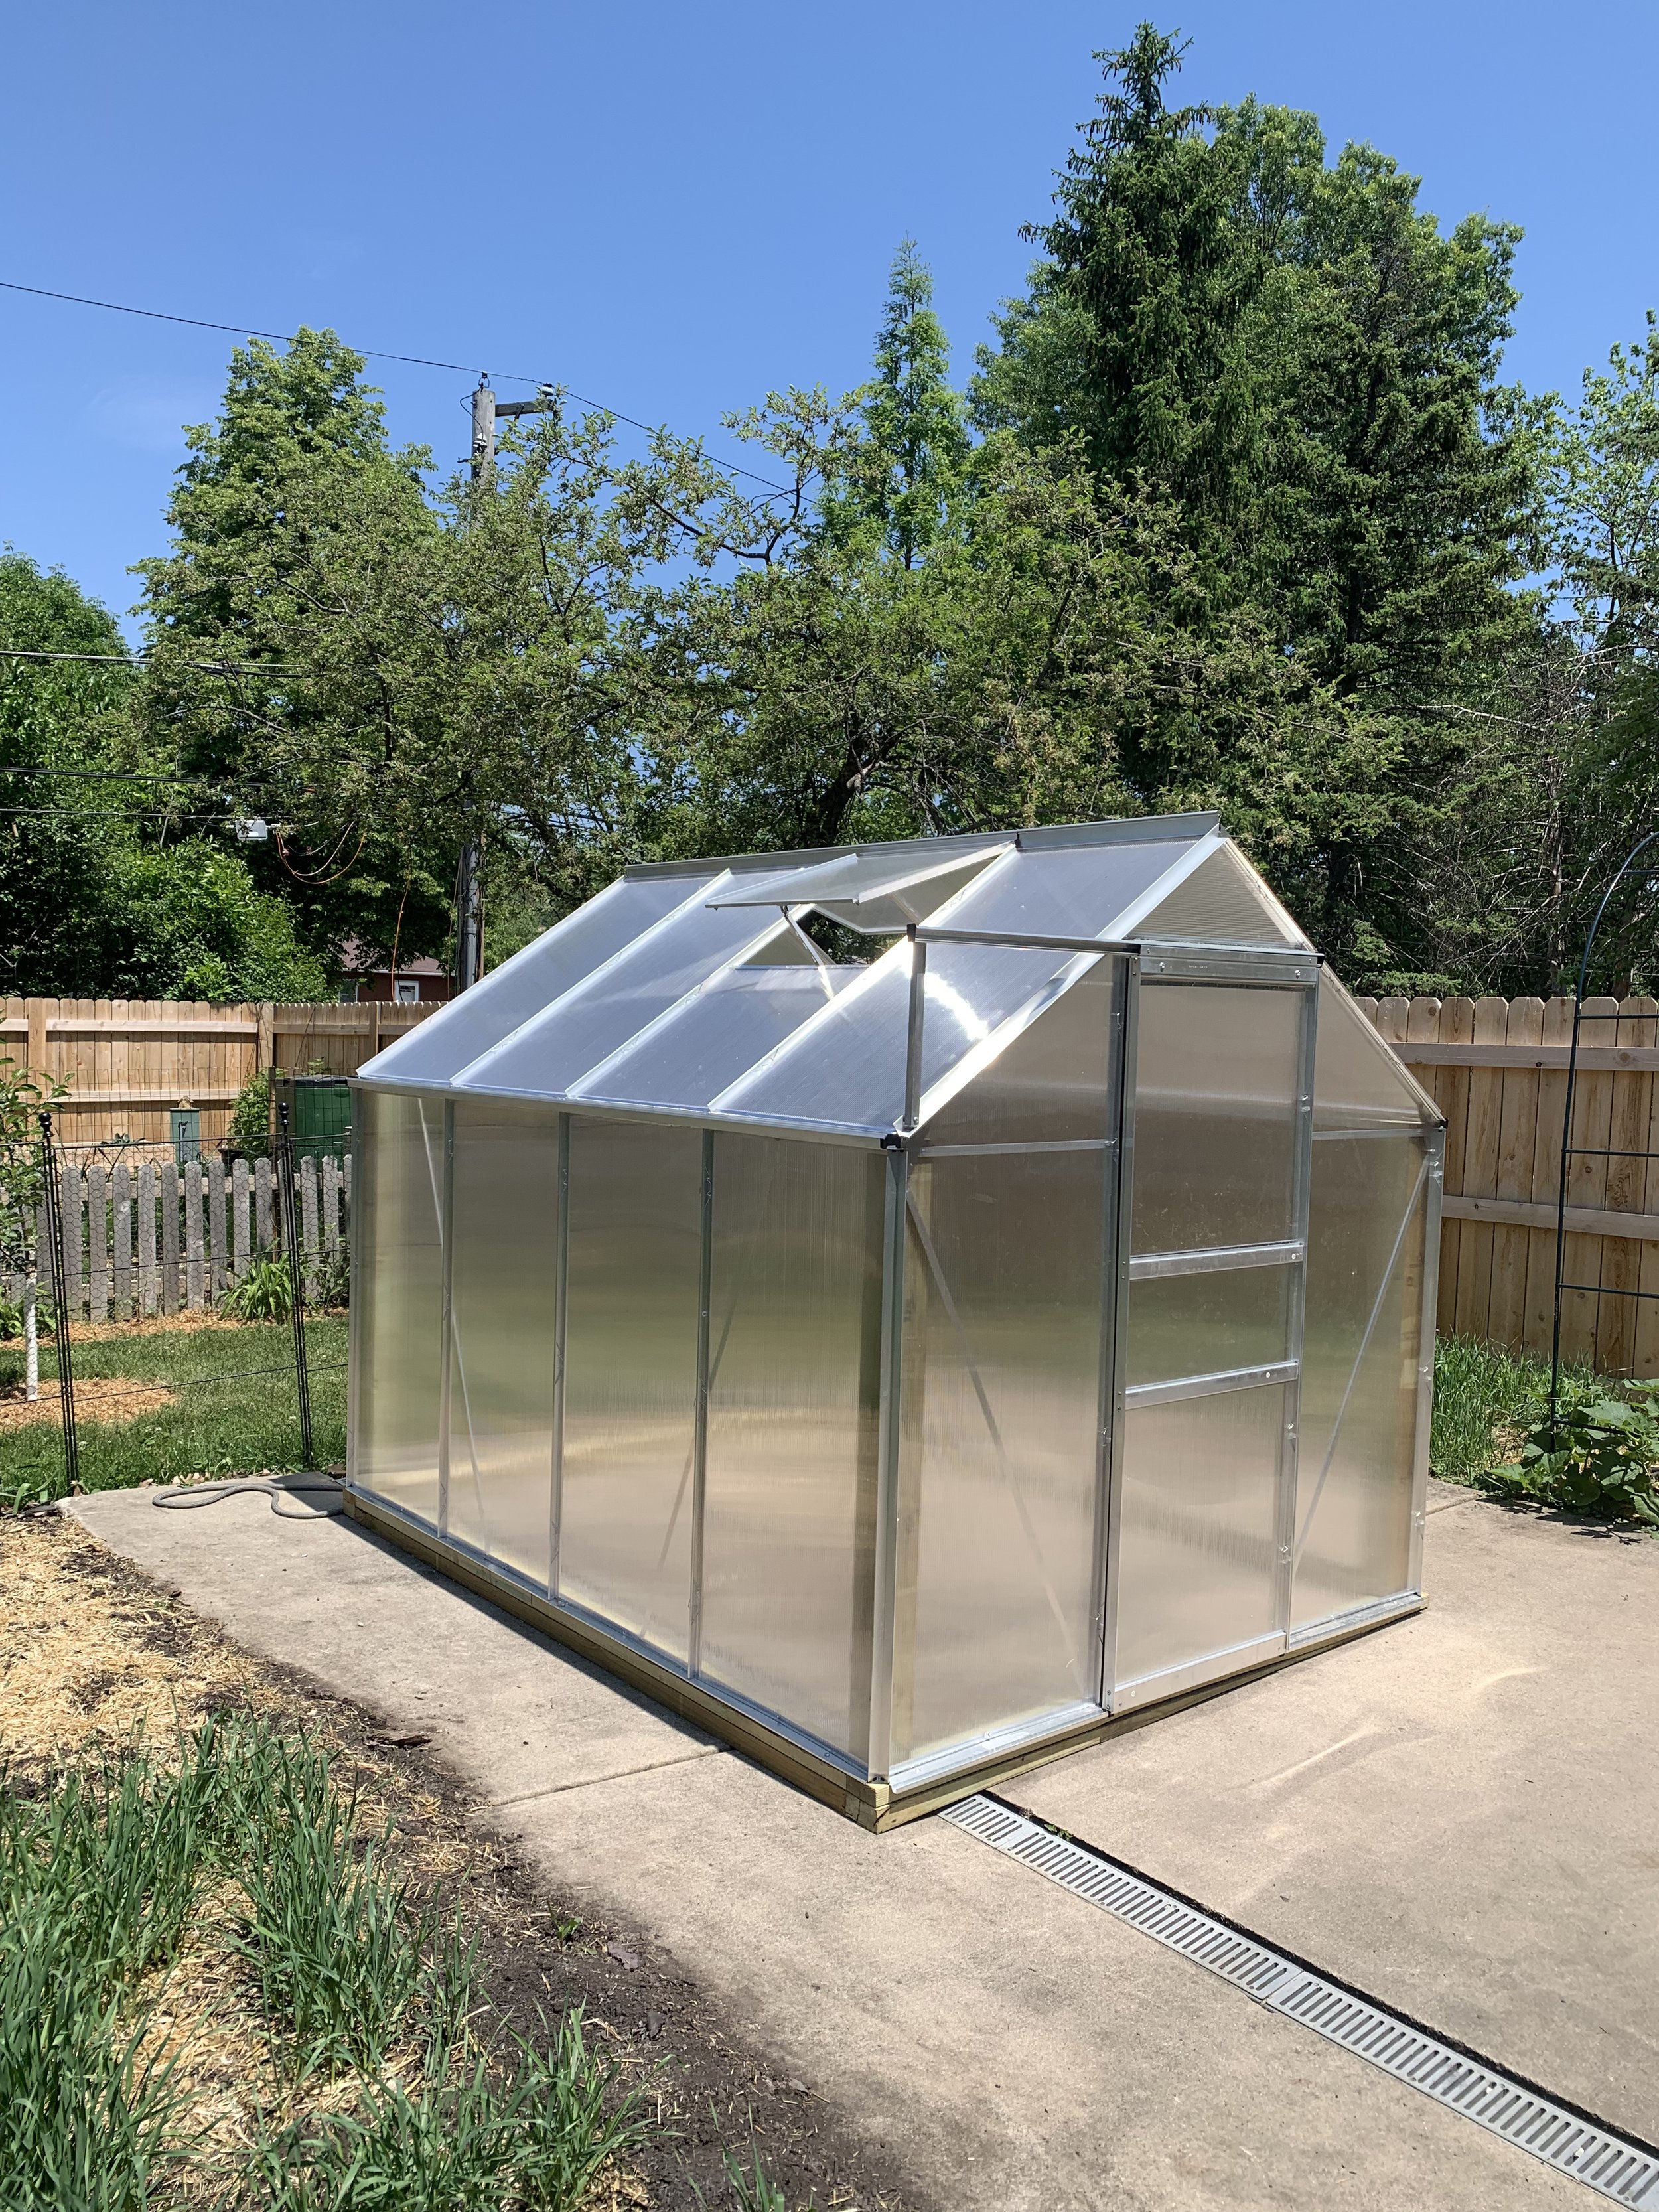
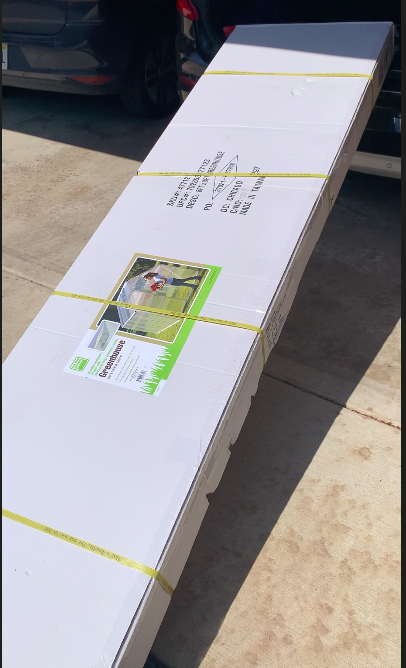
This is the 6ft X 8ft One Stop Gardens Greenhouse sold by Harbor Freight. (I believe you can also purchase this one off Amazon.) We installed it about 11 months ago and I feel ready to give a review. We have installed a few key upgrades as well which I will list/link. We purchased our greenhouse with a 20% off coupon from the listed price of $399. I think the price of this greenhouse puts it in a luxury category for most hobby gardeners. It costs more than the plastic covered portable greenhouses you can purchase to put your seedling trays in but far less than most more professional grade greenhouses that cost in the thousands. And I am not knocking the plastic covered portable greenhouse. I used one for years when I needed to move my seedlings and plants outside, but it wasn’t quite time to put them in the ground. I would actually recommend these for most home gardeners. I found it very helpful to be able to move the greenhouse around and keep it close to my back door to remind me to check on my plants. I have, however, had some unfortunate events with these portable versions. A strong wind storm blew over the entire greenhouse one year which was stuffed full of plants. I should say it was bungee corded to my deck and still managed to topple over smashing pots and scattering seedlings everywhere. I was at work when it happened but my husband was home and sadly the damage was so bad he was only able to save half my seedlings most of which became mystery plants as the labels were lost in the carnage. I replaced the portable greenhouse and took even more care to secure it to a fence or wall only to have it fall to pieces last year when my husband was trying to move it. I think he felt bad because a short while later he surprised me with the greenhouse from Harbor Freight.
All this being said because you definitely do not need a greenhouse to have a backyard garden. We happen to have a large concrete pad in our backyard where previous owners used to keep kennels for their dogs. It has been a puzzle for us to think of a useful way to use this pad but a site for a greenhouse seemed like a good idea. This particular greenhouse is not easy to assemble. If you do buy this one, watch some YouTube videos on how to put it together. The instructions that come with the greenhouse are not very clear. Our greenhouse is set on a wood foundation secured to our concrete pad. I would definitely suggest you build it out on some kind of base or foundation which is secured to the ground. Without a proper foundation, this greenhouse could easily be damaged in any storms or high winds. Either a foundation or perhaps as an addition to the side of shed that it is permanently secured to.
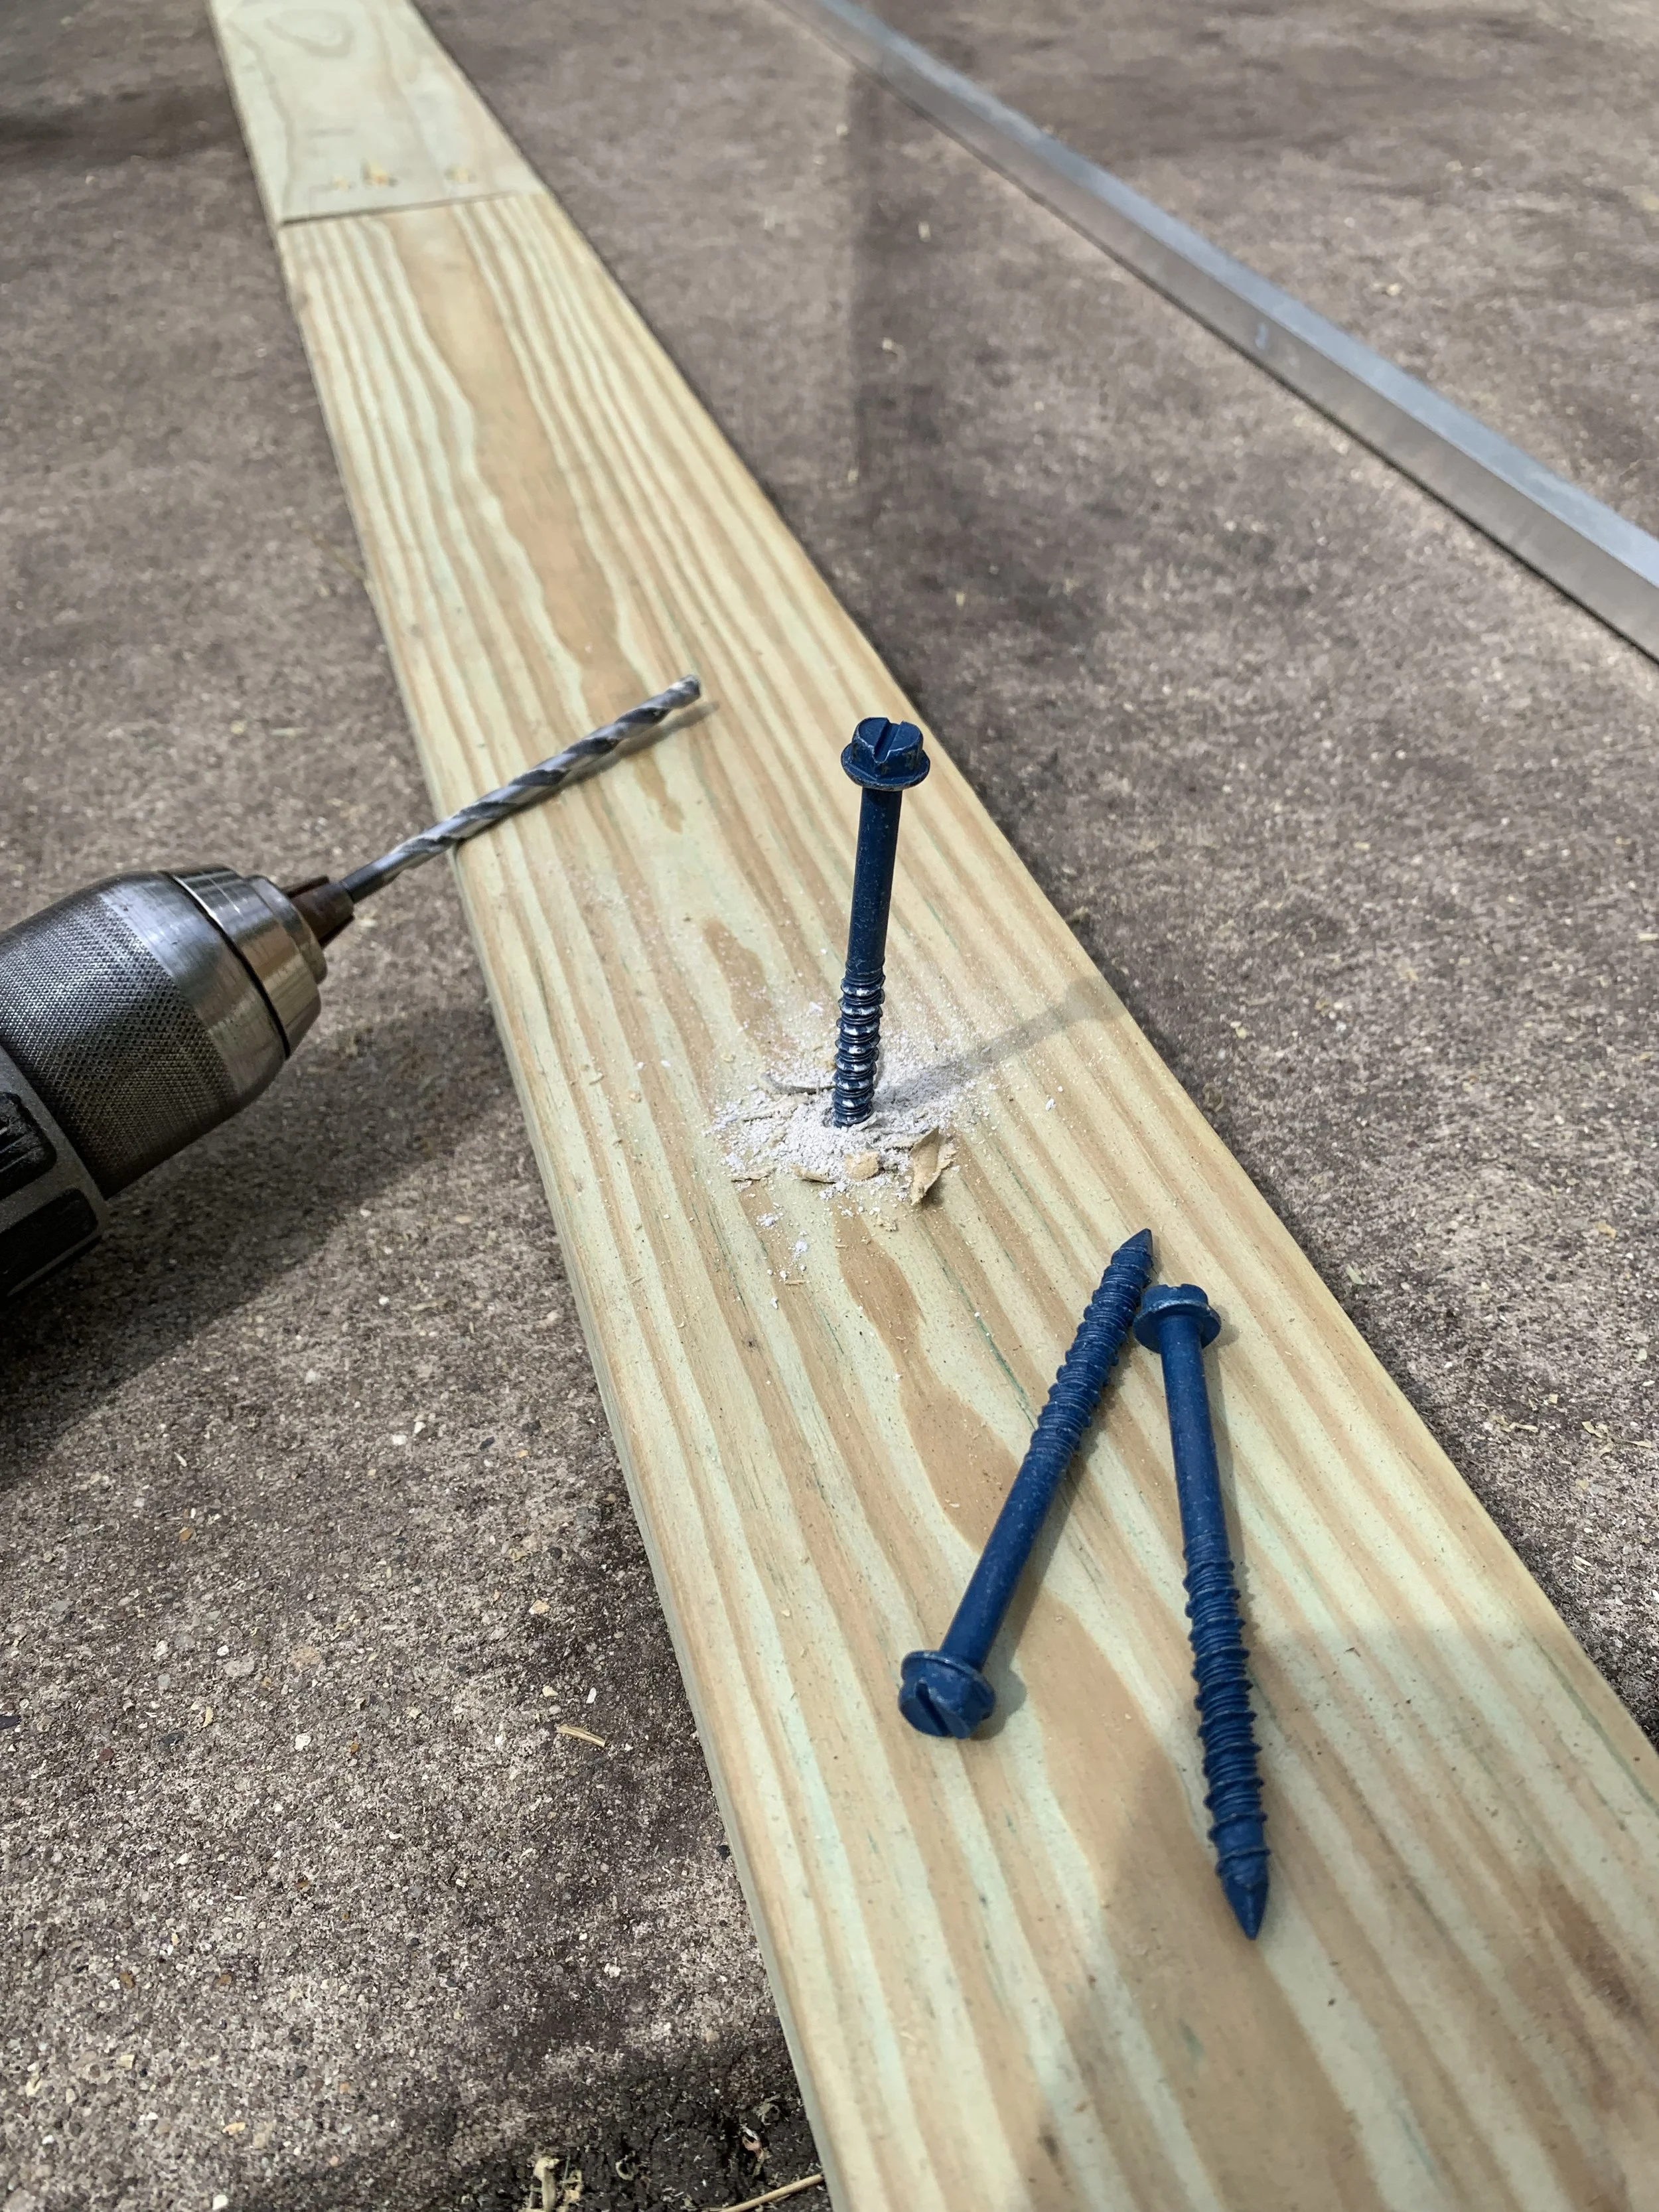


You can see above the foundation that he tied into the concrete pad before starting to assemble the metal frame. The hardest part was the frame. After that you secure the plastic panels to form the walls. That was not that difficult although your fingers will be sore after applying all the clips to keep the panels in place. The greenhouse has held up very well. We have had hail, storms, snow, strong winds etc and it is standing tall without any damage. We have not had any issues with the structure or panels. And it is not exactly protected from the elements. You can see in the pictures that it is near our fence but otherwise it stands alone in our yard. It stays pretty warm in fall in spring on its own. In the winter when the temps are freezing, it will freeze inside he greenhouse. I have not tried over wintering anything in there but depending on your climate, you likely could grow inside all winter especially if your winters are mild or if you installed a heat source. We might consider that at some point, but I mostly wanted to use the greenhouse for seedlings. It gets pretty hot inside during summer so I did cover part of the greenhouse with a shade cloth and we installed a vented window and 2 automatic roof vents which open when its warm and close when it is cold. These allow air flow when its warmer or the vented window can be locked shut and the roof vents will crack open when the greenhouse temps are over 70 degrees. If you wanted even more comfort, you could install a fan to circulate the air. I also have a battery operated thermometer so I can monitor the temperature inside. This one can link to your phone so you can closely monitor the temperature inside.
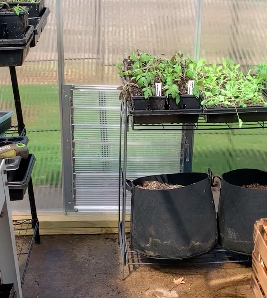


I would say the vented window and automatic roof arms are a must. Without them you run the risk of it getting way to hot inside and killing your plants or in early spring you may crack the roof vents and forget to close them at night risking frost or freezing temperatures killing your plants. We installed one last summer and it has lasted through all weather. We liked it so much that we installed a second this spring. I leave the vented window closed until summer when is allows air flow in through the bottom of the greenhouse and hot air to rise out the roof vents. With a shade cloth over the top of the greenhouse, the temperatures stayed pretty manageable although I will likely add a fan this year if I want to start fall seedlings in the dead of summer. If you are patient and relatively handy, this greenhouse is a good buy. Just make sure you do your research about the installation before hand. As we add more upgrades I will amend the article. Listed below are links to the products I mentioned. These are not affiliate links.
One Stop Gardens 6ft x 8ft Greenhouse
Palram - Canopia Automatic Roof Vent Opener for Greenhouses
Assembly of the One Stop Gardens Greenhouse on YouTube Shorts
Greenhouse Update: One Stop Gardens Greenhouse from Harbor Freight