Easy Homemade Bagels
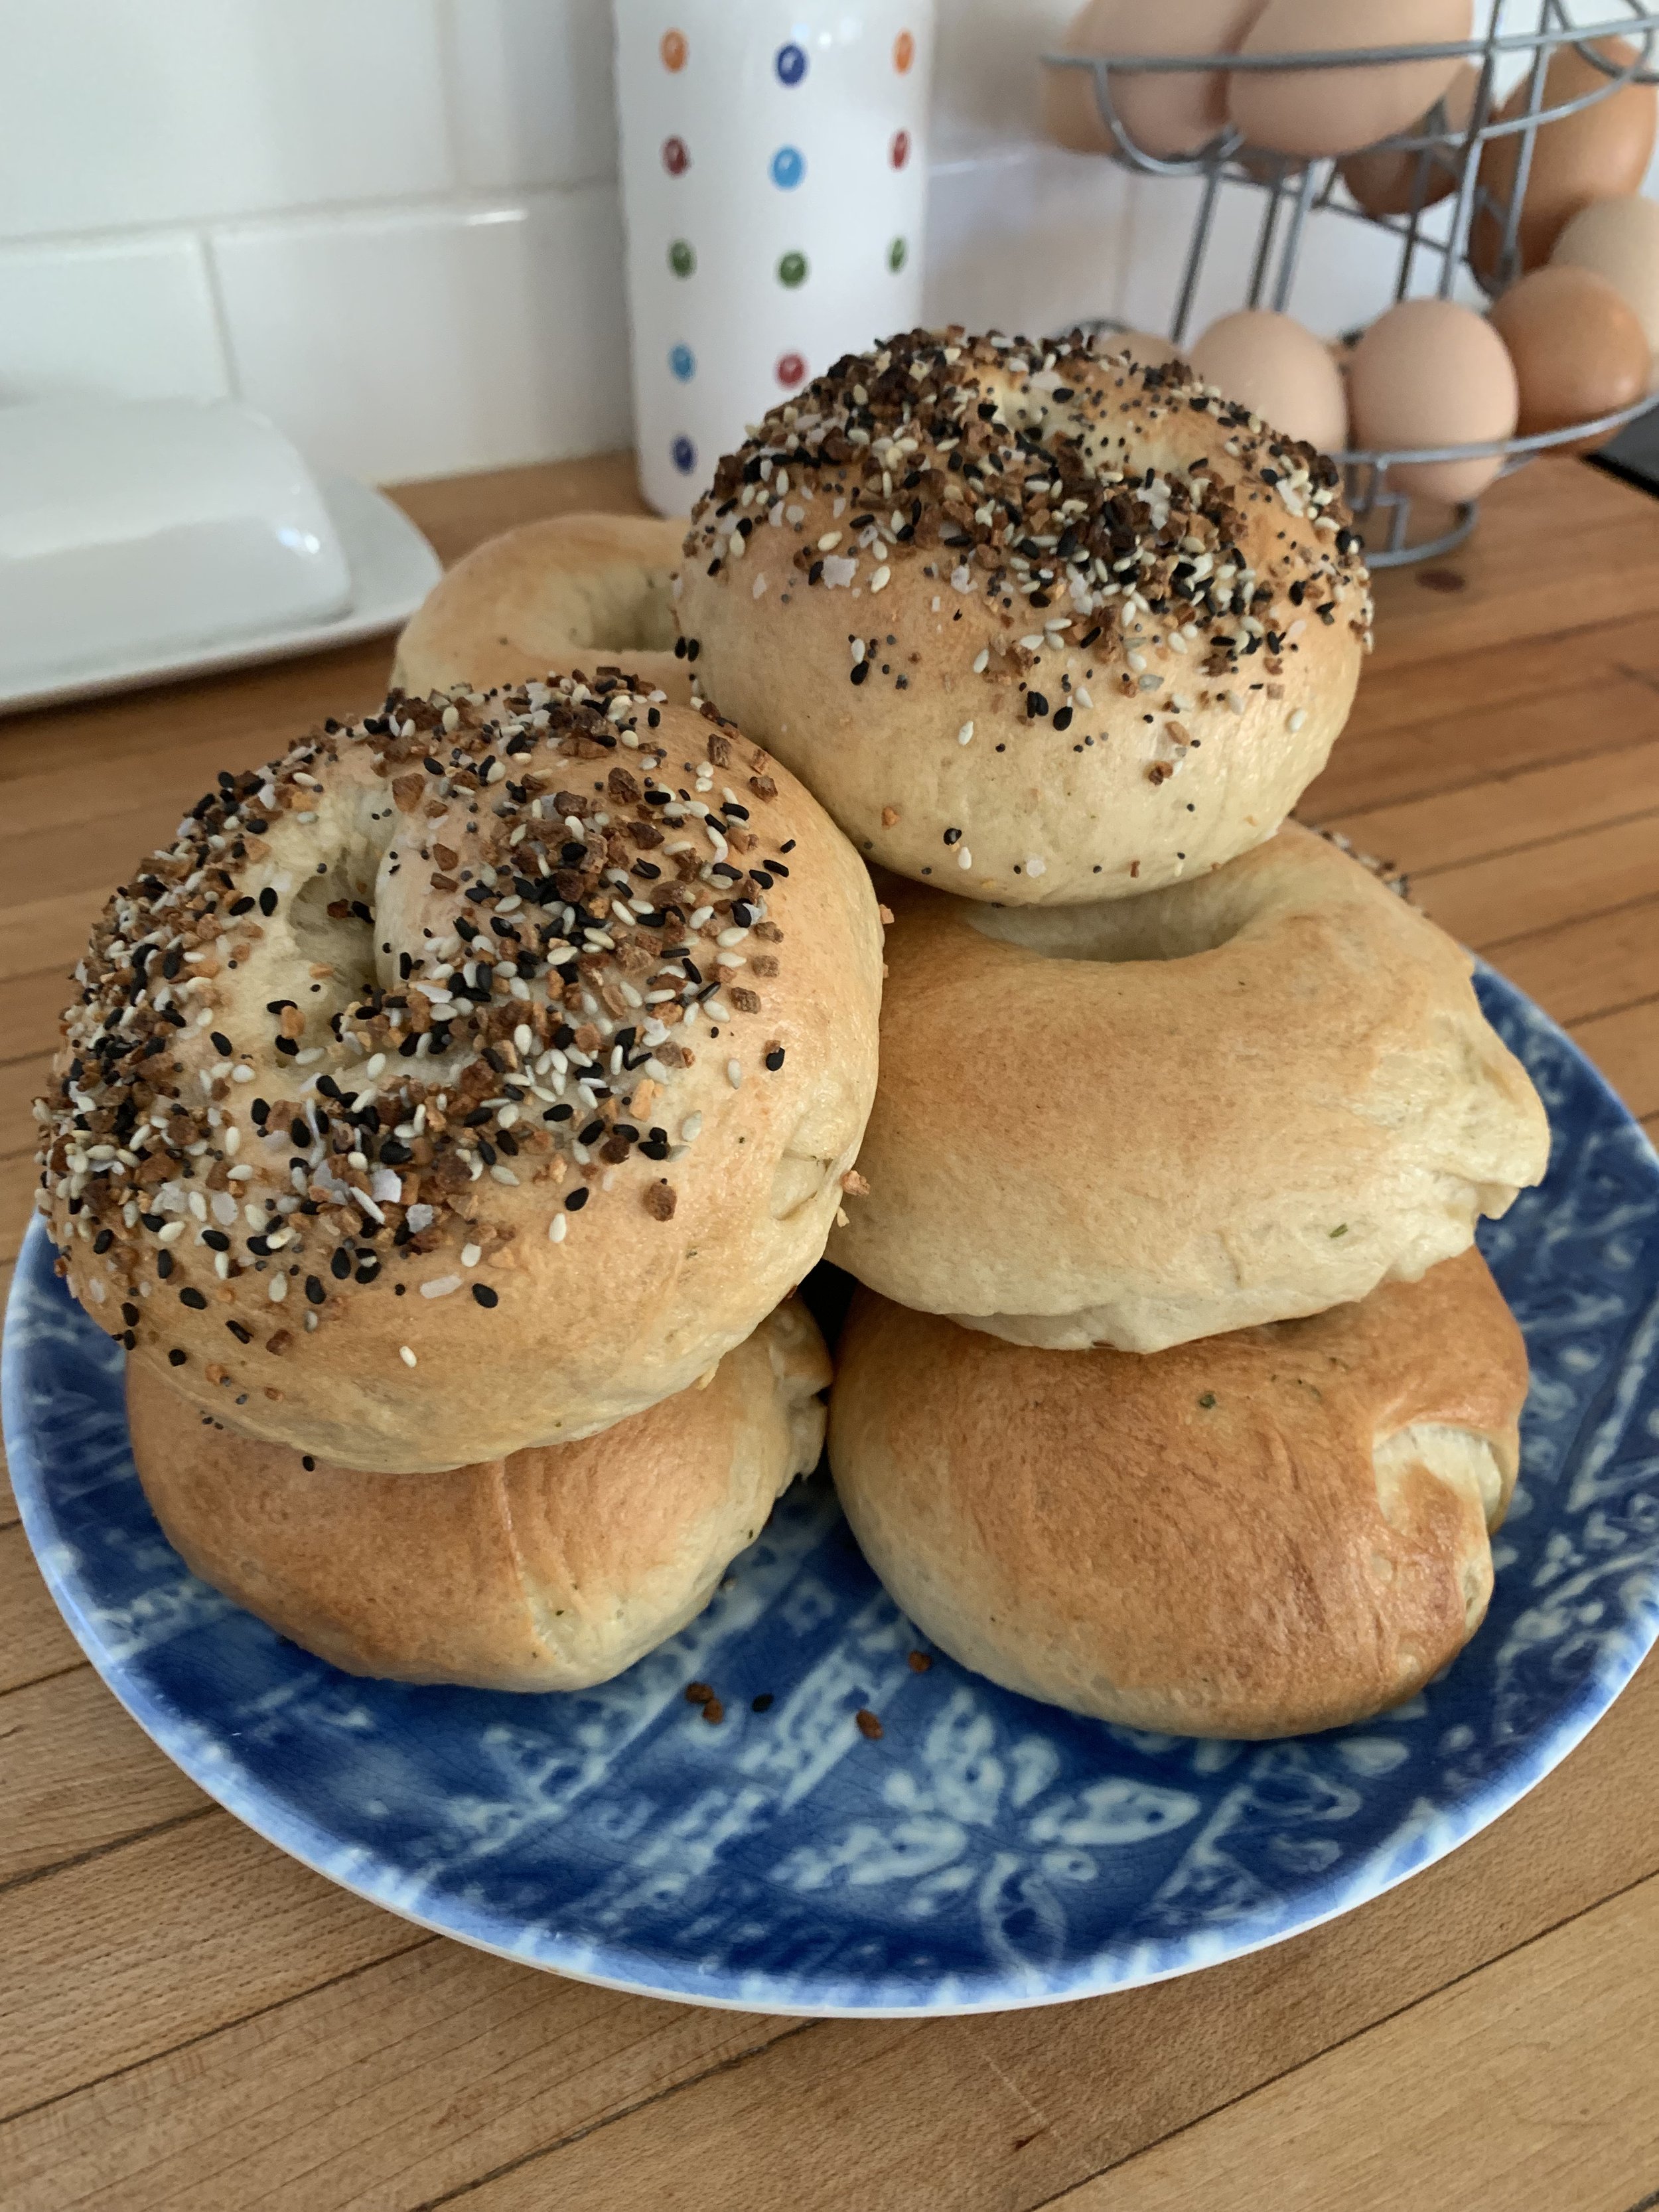
Bagels. A household favorite, at least at my house. And no doubt you can find a basic bagel in any grocery store these days. But these bagels taste way better than store bought and are super easy to make. I’m not saying they are New York style bagels or making claims that I am a bagel shop, but I will make the claim that these bagels taste better than the grocery store bagels. The proof was in my pickiest child declaring them delicious and then proceeding to eat 3 of them. If you knew him, you would take that as the highest compliment a home cook can have. I did use a mixer for this and then hand kneaded a few times to bring the dough ball together, but you can make this without a mixer. Otherwise I would give yourself a few hours start to finish. I made the dough, did some other things, ran errands, cleaned, etc then came back form the bagels and boil them. You do not have to be glued to the kitchen but you can not make these start to finish at 8:00pm if your bedtime is 9:30. Just for reference. Makes 12 large bagels or 16 medium bagels.
Ingredients:
6 cups AP flour
1 tbsp salt
1/2 tbsp active dry yeast, not rapid yeast
2 tbsp sugar
2 cups warm water
1/4 cup oil
For boiling: 6 cups water, 2 tbsp brown sugar
Topping of your choice: sesame seeds, everything but bagel seasoning, flaky salt, poppy seeds.
Recipe:
In a large mixing bowl or bowl of your stand mixer, combine the warm water, yeast and sugar. Stir gently to combine and let sit 3-5 minutes until frothy. This will ensure your yeast is alive.
Add the flour, salt and oil to the bowl and mix on medium speed or by hand to combine the ingredients. Then turn up to medium high speed to knead the dough for 3 minutes. Or dump the contents out onto a clean surface and knead by hand for 5 minutes until a stiff ball forms. Then oil the bowl and place the dough back in the bowl making sure it is completely coated in oil.
Cover with a damp cloth or plate and allow to rise for 2-3 hours. It should double in size. (If you prefer a longer rise, place the bowl directly in the fridge. You can come back to it 4-5 hours later and if it is not doubled, just put in on the counter to finish proofing.)
After the dough has proofed and is doubled, dump the dough out on a clean surface (you should not need any flour. The dough should be soft and not sticky.) Divide into 4 parts then each 1/4 gets divided into 3 to make 12 equal pieces. If you want to make smaller bagels then divide each 1/4 into 4 to make 16. Shape each piece into a ball, making sure to tuck the seam of the dough underneath. This is like making 12 small loaves of bread. Place them on lined baking sheets and cover with a towel to allow the dough to rest for 20 minutes.
While the dough rests, preheat the over to 450 F and prepare the bath for the bagels before they go in the oven. Combine 6 cups of water and 2 tbsp brown sugar in a large sauce pan and bring to low boil.
While the water heats, shape the bagels. Take your thumb and puncture a hole into the center of each dough ball. Gently stretch the dough so it has about a 1-2 inch hole in the middle. Place them back on the lined sheet trays and cover to allow the dough to rest while the oven pre heats and the bath comes to a boil.
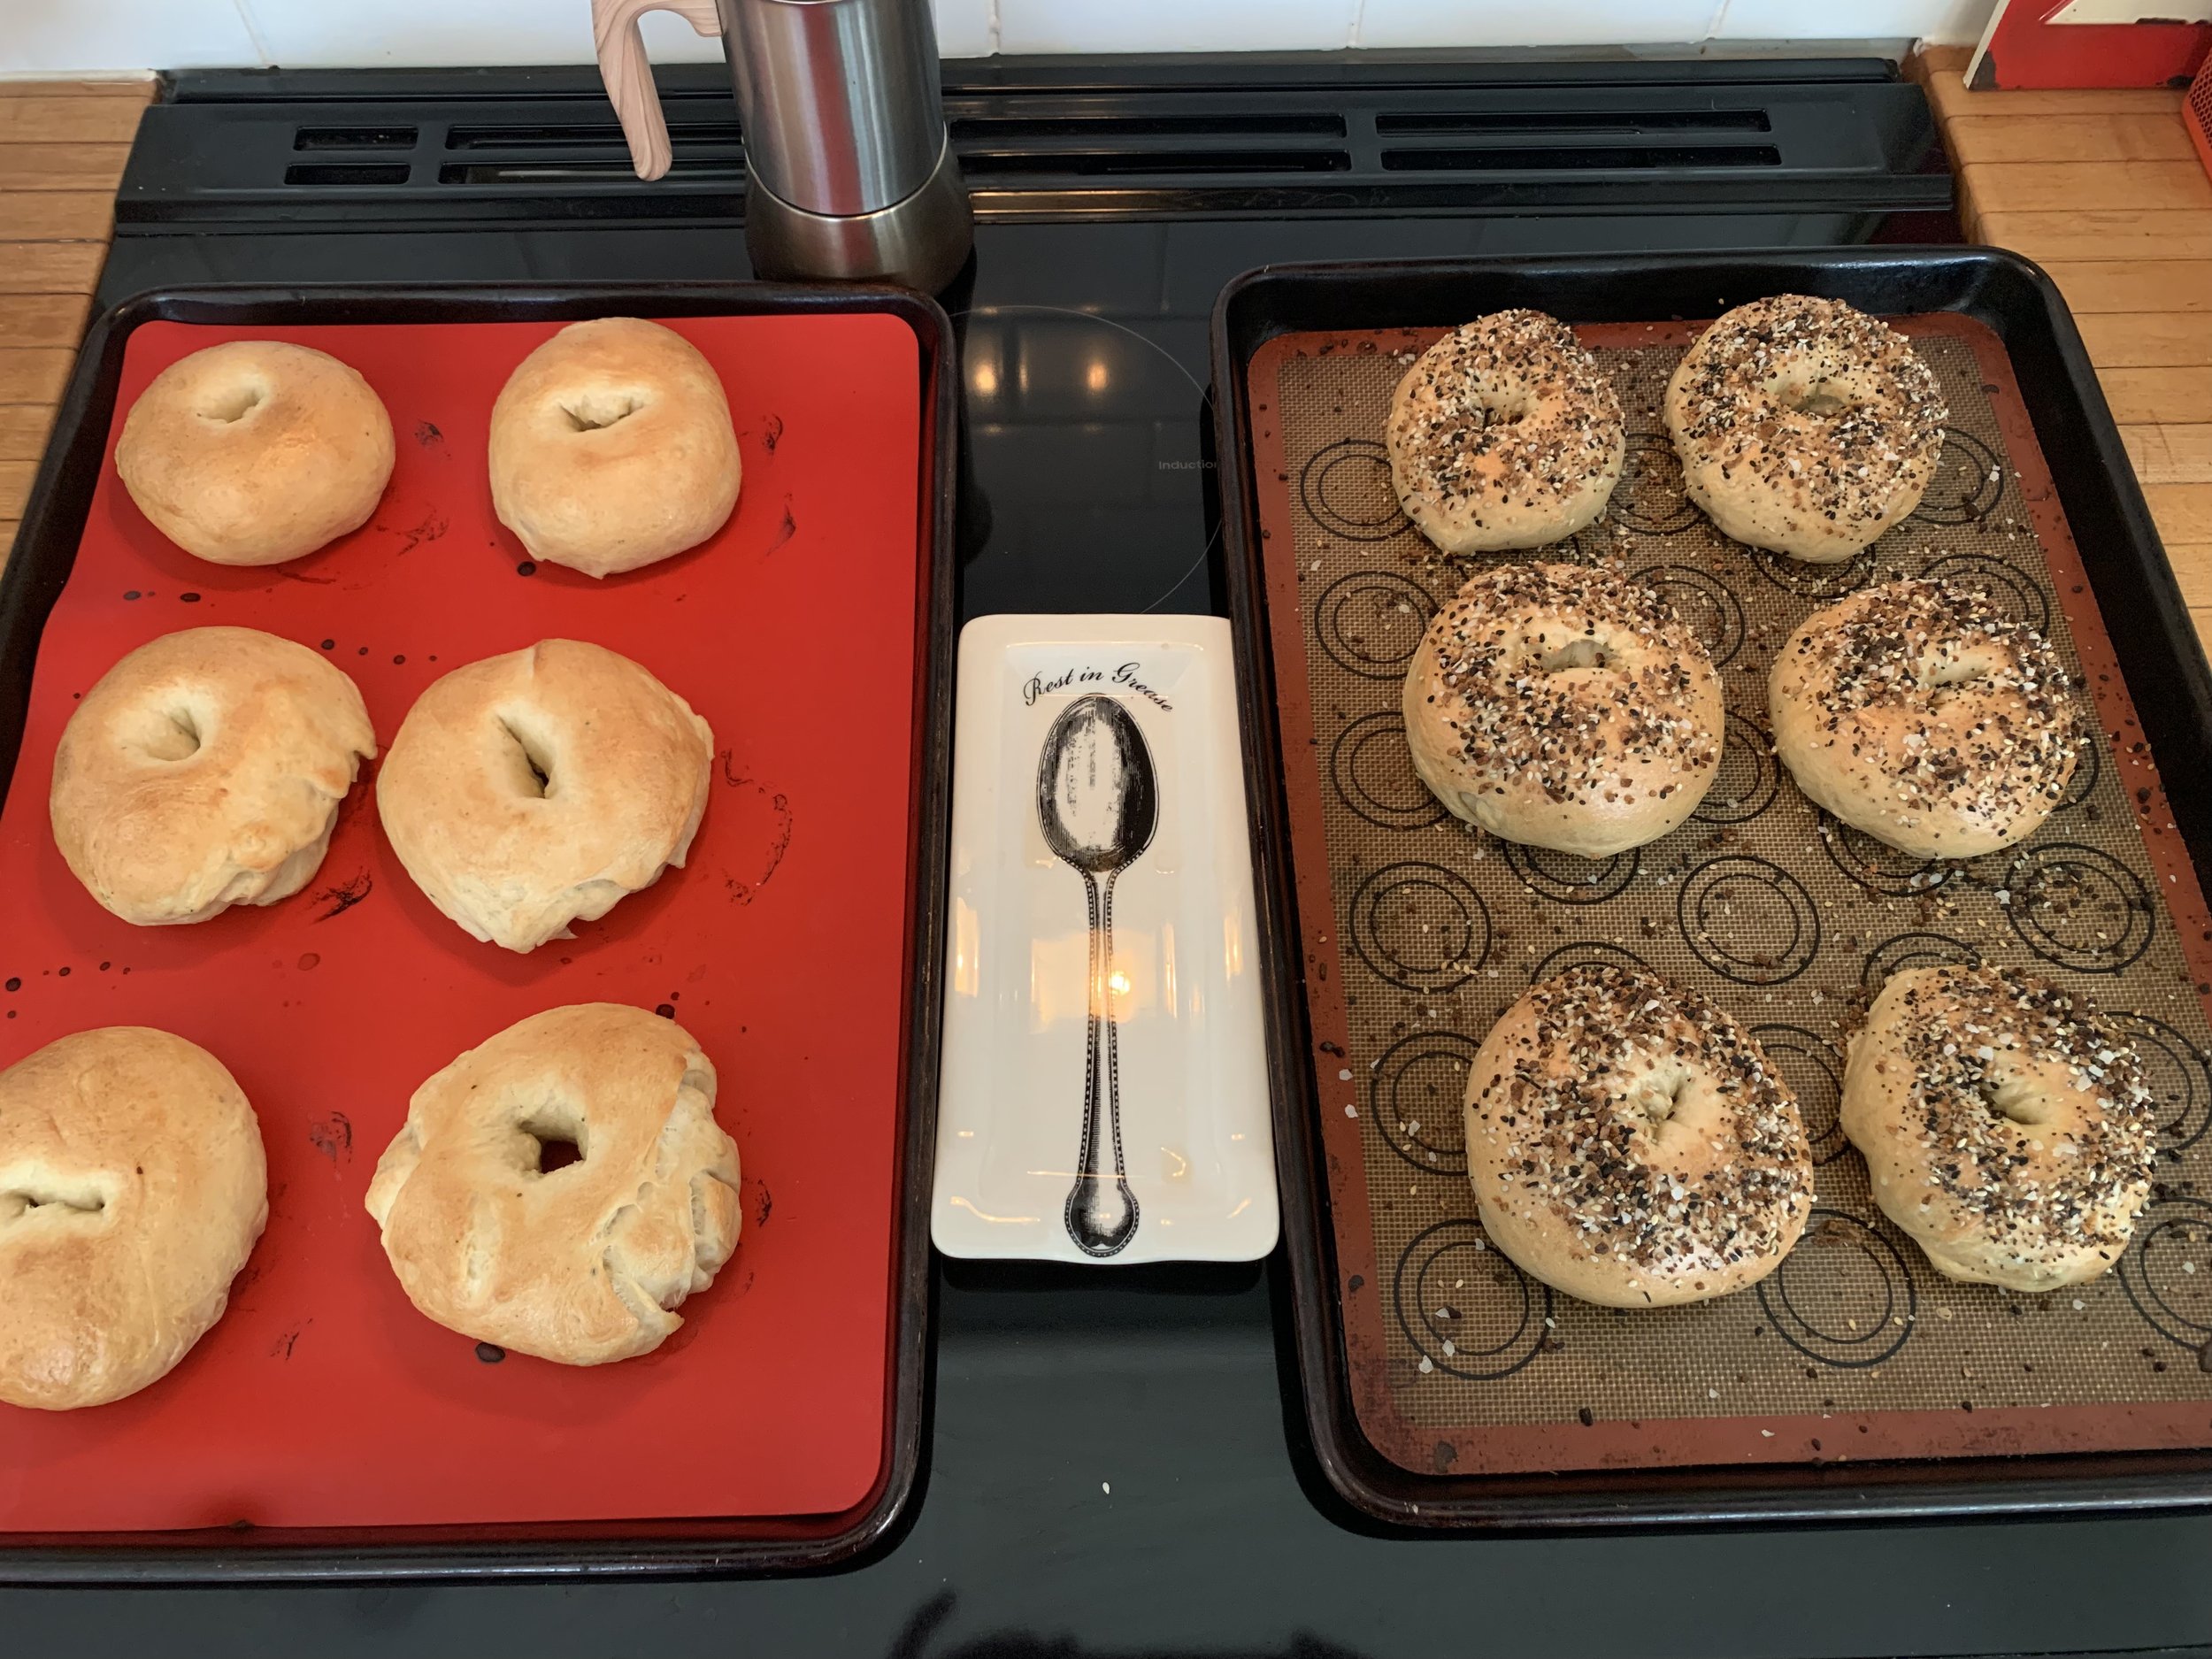
Once the bath is boiling, place 2 bagels in the bath at a time. Allow to boil for about a minute on each side then place back on the baking trays. If you are adding toppings, this is the time. I prefer the Everything But the Bagel seasoning from Trader Joes. I will just shake the toppings on top but you can also dip the boiled bagels in a bowl of toppings. I find that I waste less toppings by just sprinkling it on top. I also enjoy some flaky salt on top of my bagels from time to time. You do not have to put any toppings on. The bagels are really good plain. Once all the bagels have had their bath and toppings, place trays in the oven at 450 F for 15 minutes. They will puff and turn golden brown.
You can store these for up to a week in a sealed bag or container. My don’t last that long. You can also freeze half if you wish or keep them in the fridge for longer storage. Enjoy!

